Blending Photos Ogether - the Easy Way
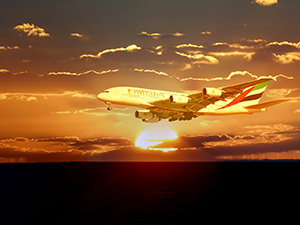
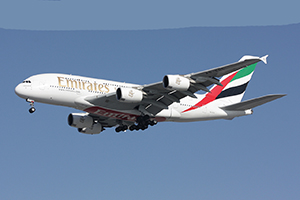
First have a look at these three blended images.
 |
 |
 |
The blending does not overtake the background image.
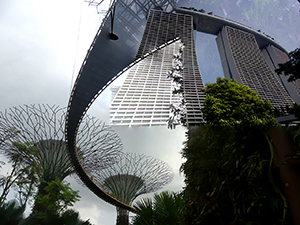
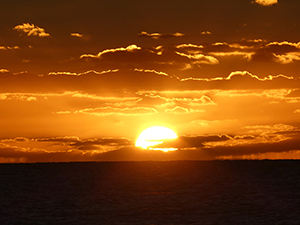
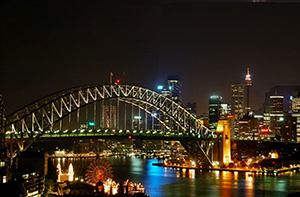
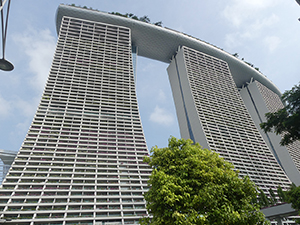
Have look at the originals.
 |
 |
 |
 |
 |
 |
This is how it is done (in seven simple steps) using the Blend Tool.
1/. The hardest part is to find the right images.
You need a good quality background, of at least 1280px wide. DO NOT use a smaller image.
Then you need an "over the top image". This image must have a non-busy background. Preferably a single colour background. You need to experiment! Some images will work while others will have too much detail to make it all work. Ensure you save both images to your drive!
Then ensure the images are the exact same width and height (It's easier).
2/. Open the Layers panel (Windows/Layers) if not already positioned on the right menu side of the screen.
3/. Using the background image,which will be layer 1), copy/paste your over the top image onto it. The top image will become layer 2.
4/. Select the top layer (Layer 2), select CTRL T (or Edit Transform) and size in and place your top image, where you need it to be.
5/. You now need to Blend the images. Ensure that you have selected both layers and use the Edit/Auto Blend Layers command. When the dialogue window comes up ensure that you have selected:
Stack Images and
Seamless Tones & Colours
6/. You may need to adjust the Opacity. In the Layers Window select layer 2 and then adjust the Opacity slider to match what percentage you need (if at all). If you have unwanted backgroung you can try and erase it, but the idea is to havea clean background from the start.
7/. You are done! Save your creation as blend_final. Try a few more projects, it's fun!