Year 8 - Digital Imaging
Digital Images - Part 2.
Here you will be doing more work with images, this time more complex!
There are 10 tasks to complete in this project.
You must use the images provided and you must complete all the steps.
You will need to create a folder multimedia_task.
The tasks are shown below, with on the right a link to the full sized image you need to download and create from.
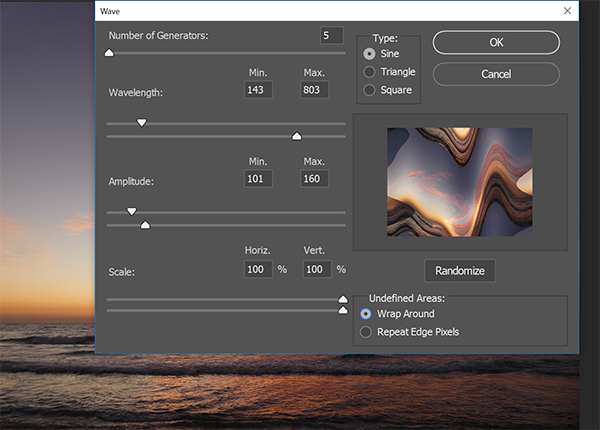
Task 1- You are to use Filter/Distort/Wave and use the settings as shown in this image. The original image is under the thumbnail on the right. For the larger size image click on the thumbnail.
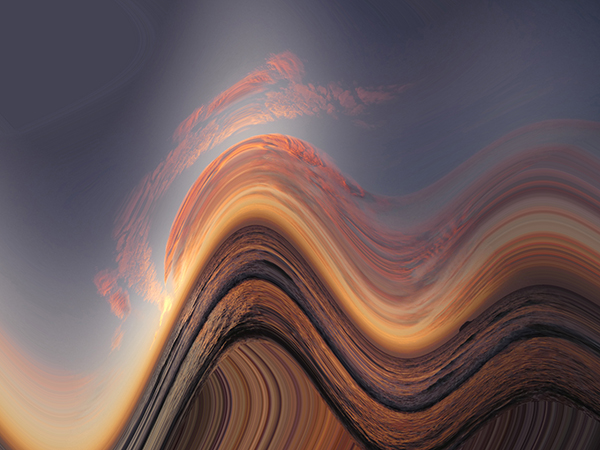
The finished image should look like this:
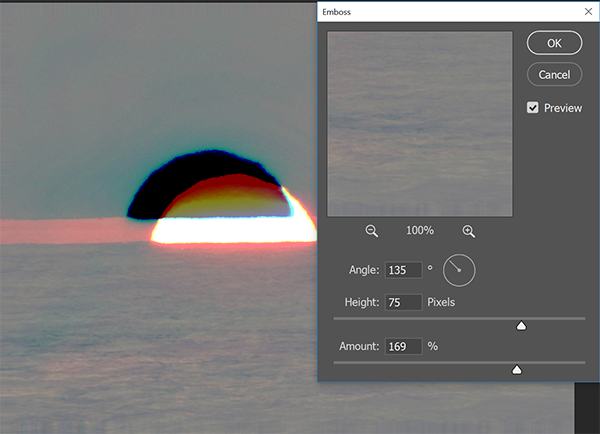
Task 2 - Filter/Stylize/Emboss, using the settings in this image and use the settings as shown in this image. The original image is under the thumbnail on the right. For the larger size image click on the thumbnail.
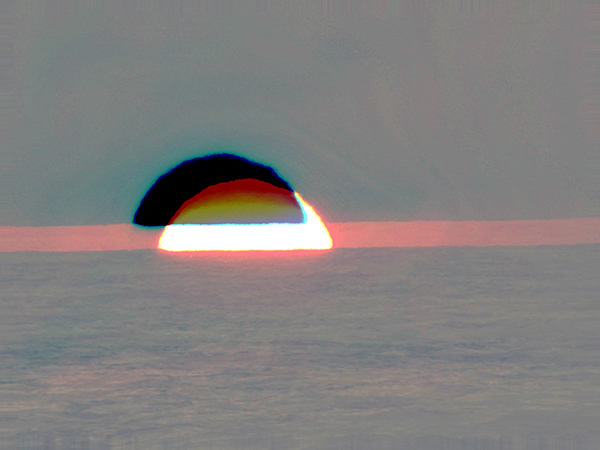
The finished image should look like this:
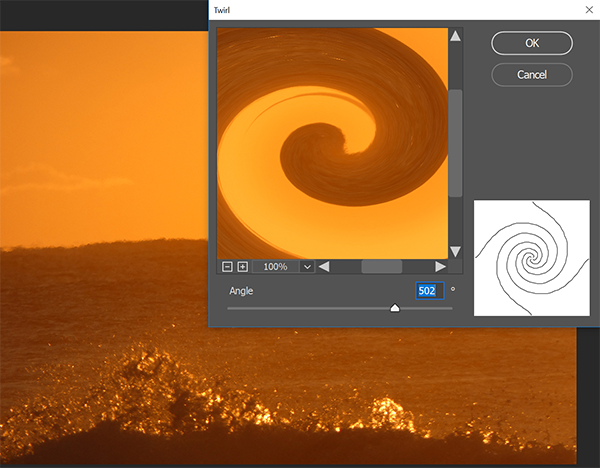
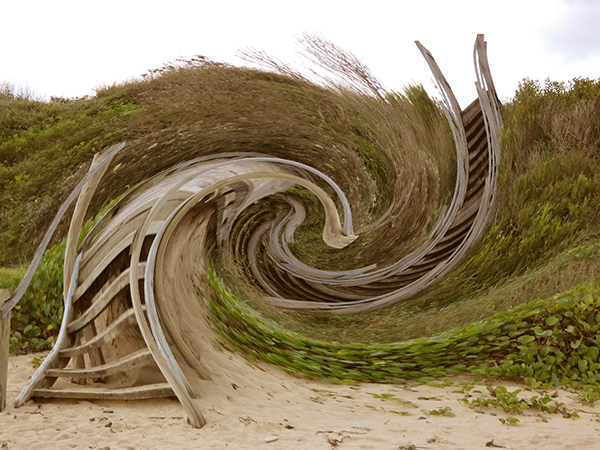
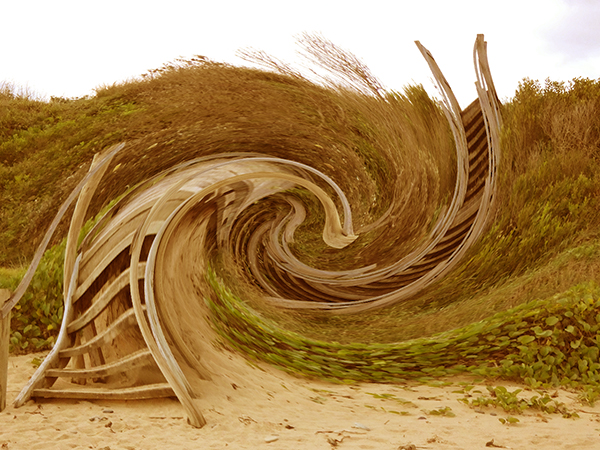
Task 3 - Filter/Distort/Twirl and use the settings as shown in this image. The original image is under the thumbnail on the right. For the larger size image click on the thumbnail.
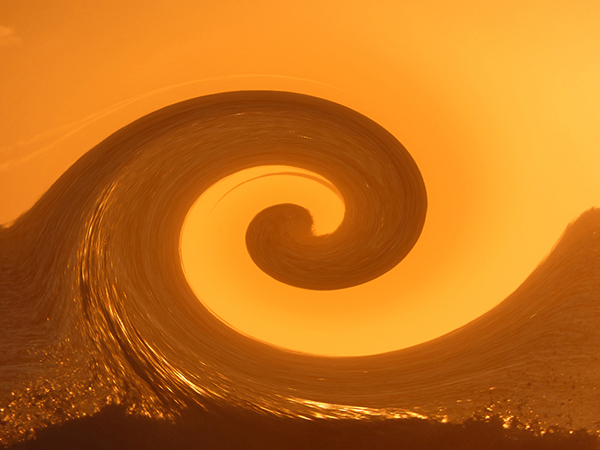
The finished image should look like this:
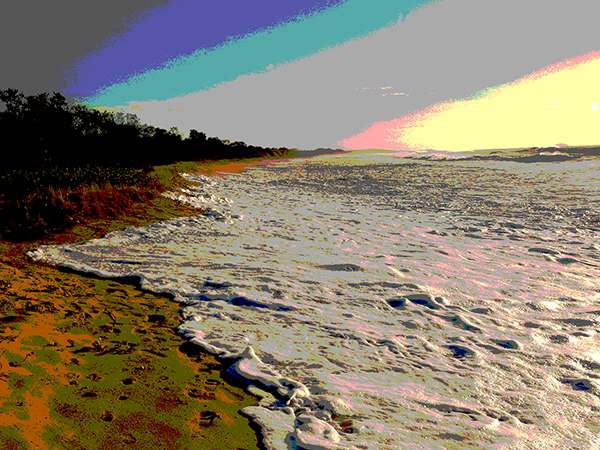
Task 4 - a/. Image Adjustments/Posterize, level 4, then b/. Filter/Render/Difference Clouds. and use the settings as shown in this image. The original image is under the thumbnail on the right. For the larger size image click on the thumbnail.
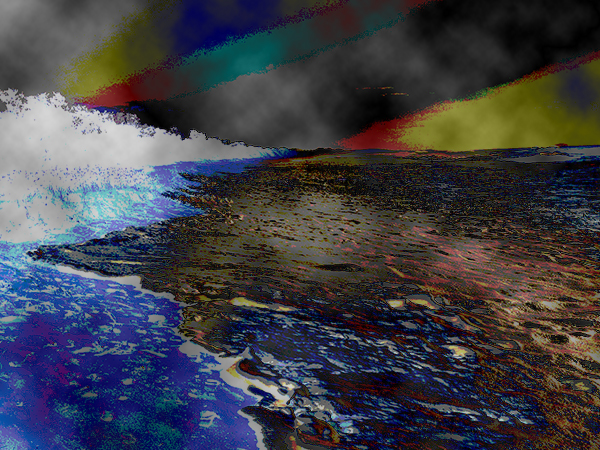
The finished image should look like this:
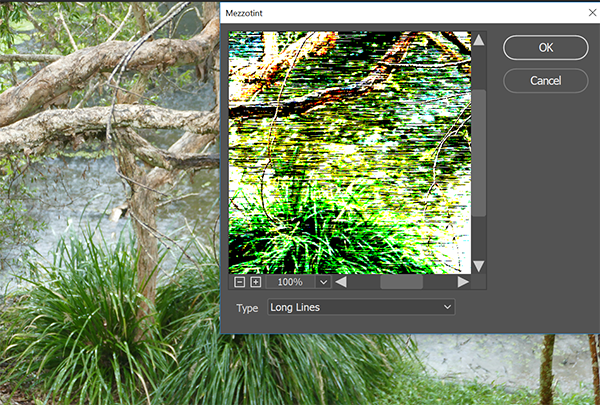
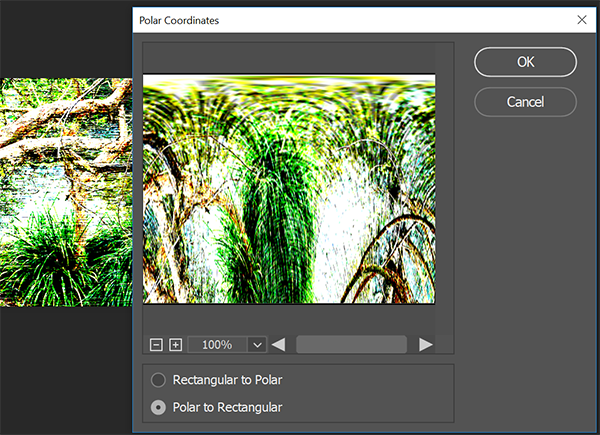
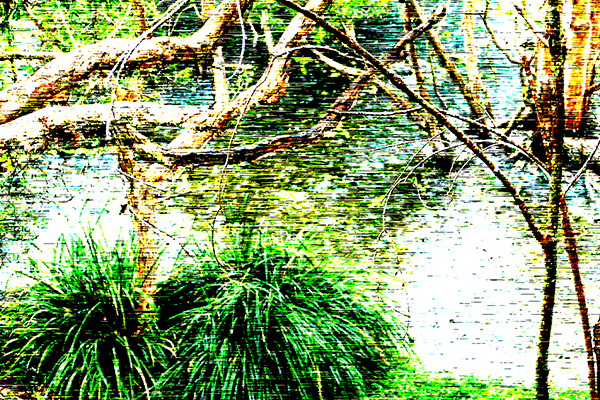
Task 5 - a/. Filter/Pixelate/Mezzotint/long strokes 100/ then b/. Filter/Distort/Polar Co-ordinates/Polar to Rectangular. and use the settings as shown in this image. The original image is under the thumbnail on the right. For the larger size image click on the thumbnail.
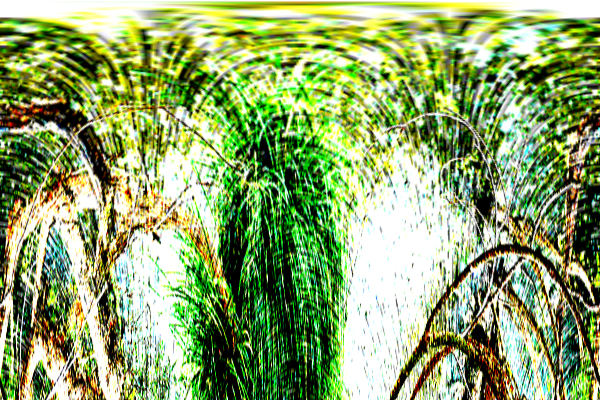
The finished image should look like this:
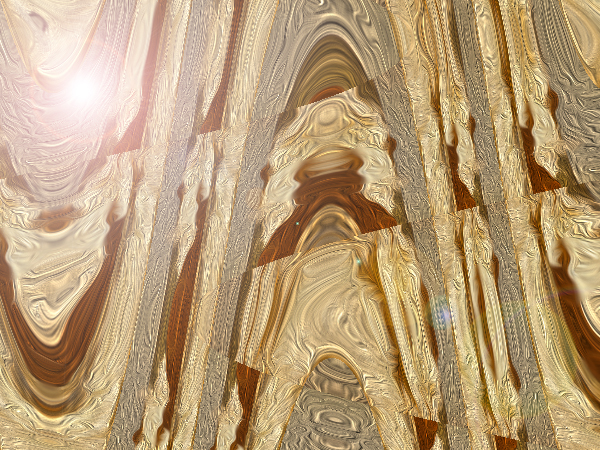
Task 6
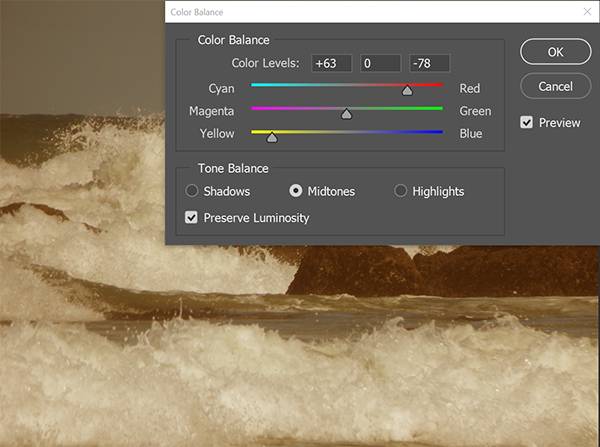
a/. Image Adjustments - Colour Balance. The original image is under the thumbnail on the right. For the larger size image click on the thumbnail.
b/. Image Adjustments - Shadows/highlights.
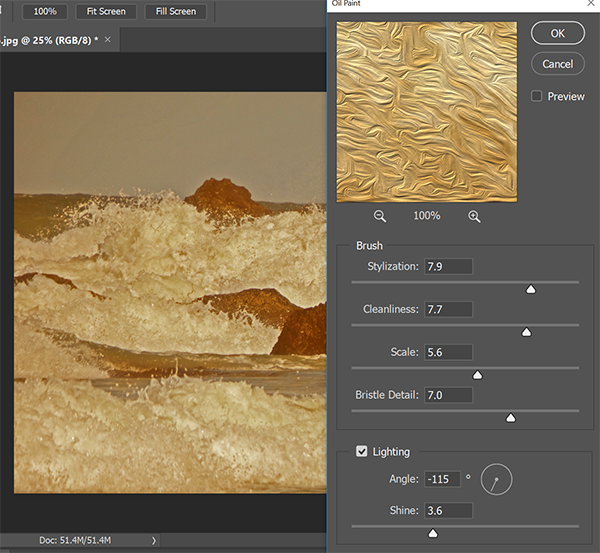
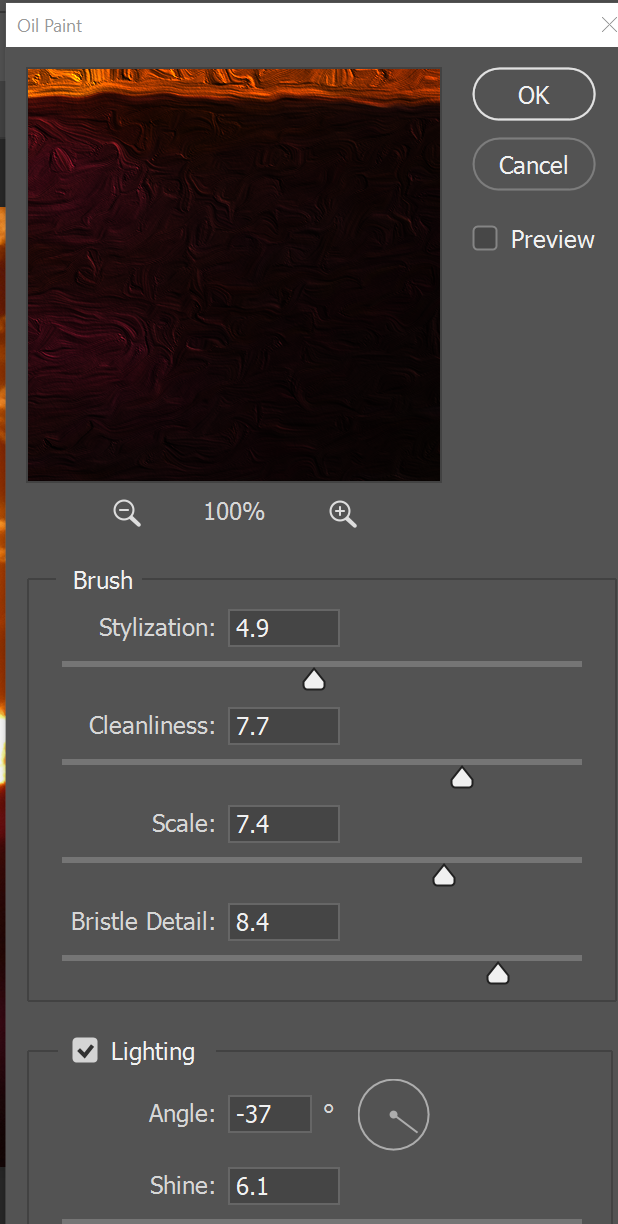
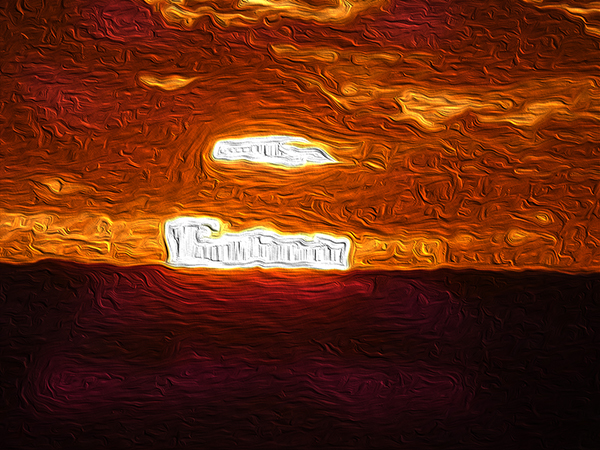
c/. Filter/Stylize/Oil Paint.
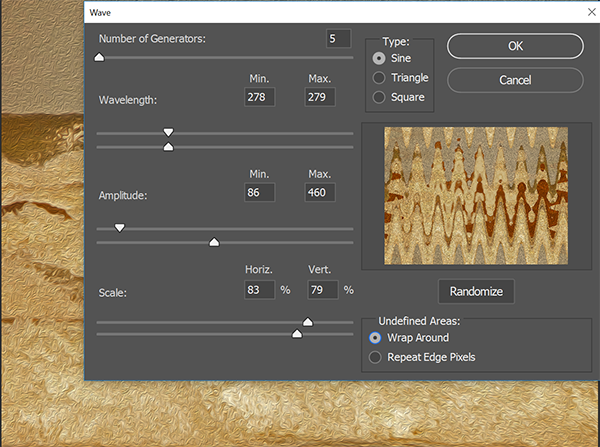
d/. Filter/Blur Gallery/Spin Blur/ Filter/Distort/Wave.
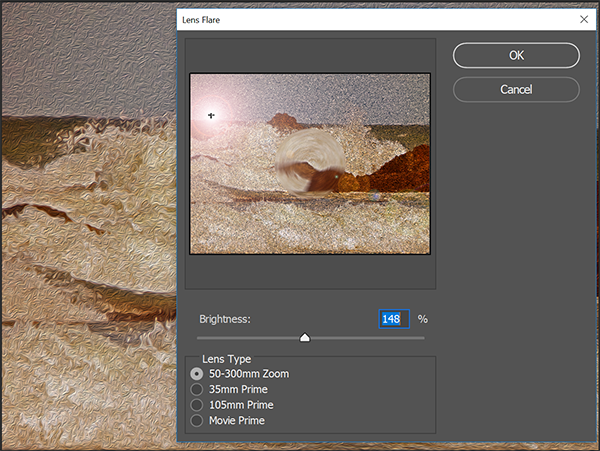
e/. Filter/Lens Flare.
The finished image should look like this:
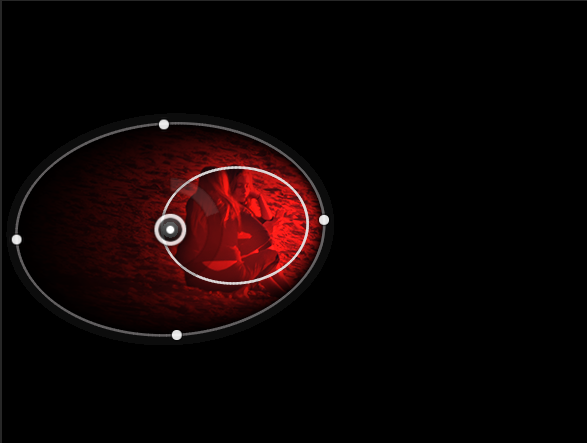
Task 7
Filter/Other/High Pass/
Radius = 12
The original image is under the thumbnail on the right. The original image is under the thumbnail on the right. For the larger size image click on the thumbnail.
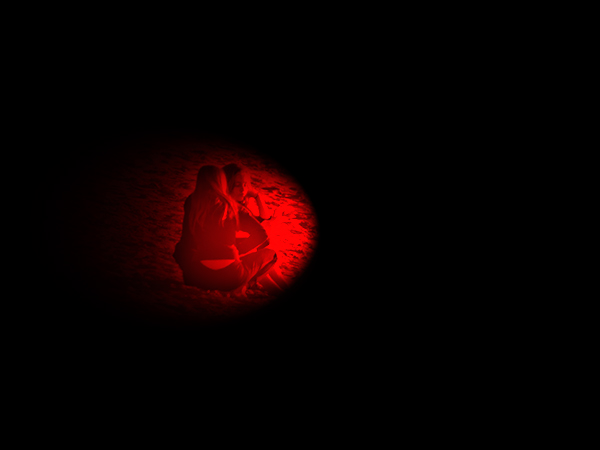
Filter/Render/Lighting Effects.
Place the circle over the two girls - being the main objects.
The final image will look like this:
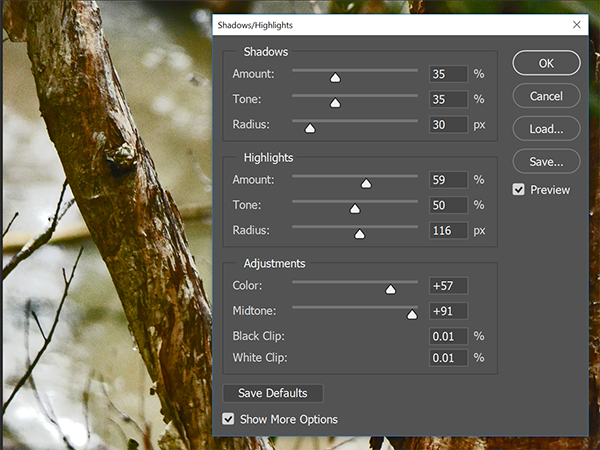
Task 8 - Image Adjustments Shadows & Highlights. The original image is under the thumbnail on the right. For the larger size image click on the thumbnail.
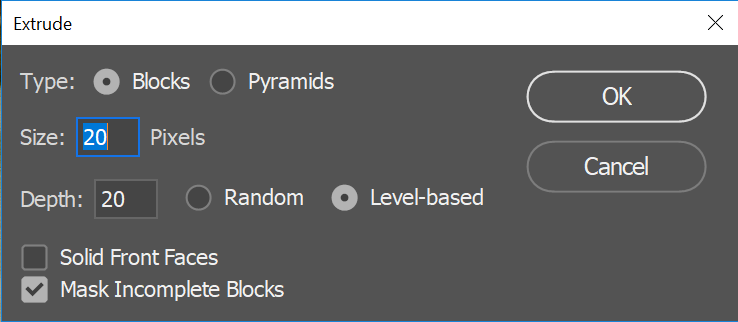
Filter/Stylize/Extrude
Filter/Render/Picture Frame 24 x 50, Arrangement 60
Task 9 - Filters/Distort/Twirl, Image Adjustments/Colour Balance
Filter/Distort = 224. The original image is under the thumbnail on the right. For the larger size image click on the thumbnail.
Image Adjustment/Colour Balance (+45, 0, -54)
The final image looks like this:
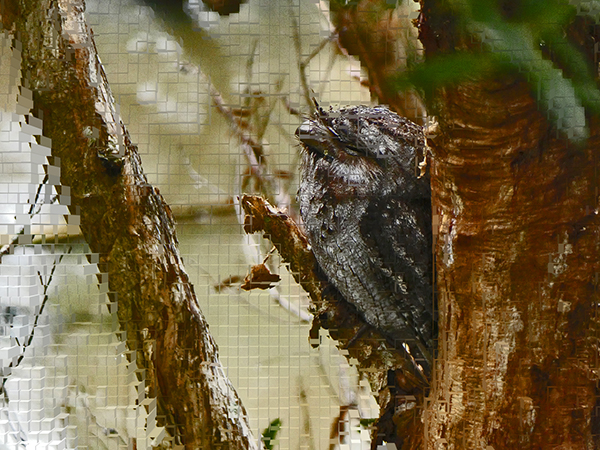
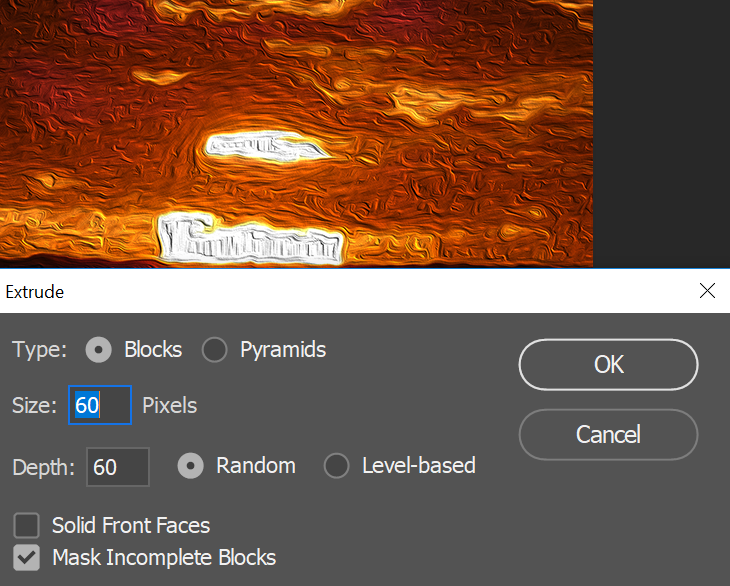
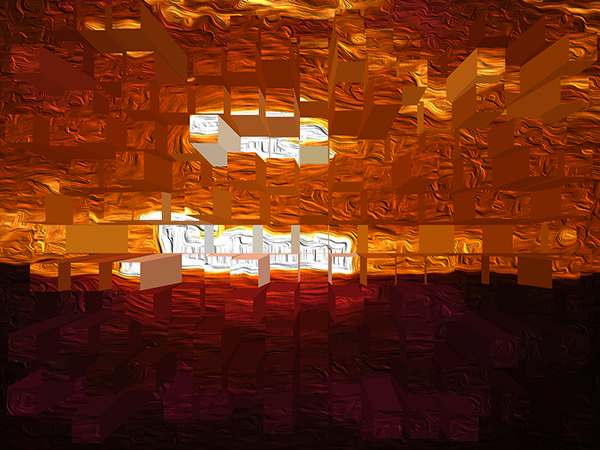
Task 10 - Filter Stylize - Oil Paint. Then Filter Stylize - Extrude. The original image is under the thumbnail on the right. For the larger size image click on the thumbnail.
1/. Filter/Stylize/Oil Paint.
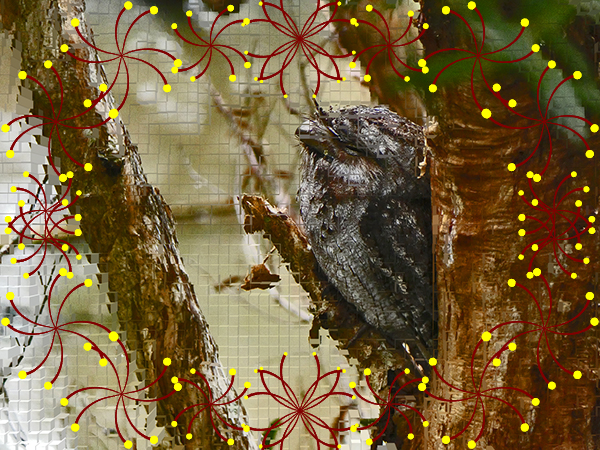
2/. Then Filter/Stylize/Extrude.
The finished image.