Task 2 - A Photoshop Skills Task (For those not yet taking photos).
If you have already taken photos, you will digitise your own, using the options in blue below.
You need to research 12 images - one image for each of the categories below.
1/. A vertical portrait of an interesting person.
2/. A vertical photo of a tall building.
3/. A vertical photo of a person NOT facing the camera.
All the rest are horizontal (landscape) photos.
4/. A group of people, facing the camera.
5/. A telephoto (zoom) photo.
6/. A scenic landscape photo.
7/. An action photo.
8/. A night photo.
9/. A set of steps photo.
10/. A group of buildings.
11/. Vivid Sydney photo.
12/. A beach photo with people either swimming or at play. in the water or on the sand.
Then, using Photoshop you need to digitise the photos, using the following Photoshop Tools , Image Adjustments and Filters.
Use different techniques for each image.
When you save the digitised image DO NOT overwrite the original image, instead save it as the image name_and the technique number used. (The technique number is the option number/s below.
The link to the example gallery, with thumbnail and large images is located here.
1/. Image Adjustments/Desaturate, then Colour Balance - using red and yellow to create a Sepia effect.
2/. Filters/Stylize/Trace Contour.
3/. Filter/Pixelate/Mezzo-tint/Pointillise.
4/. Image Adjustments/Invert.
5/. 3D/New Tiled Painting.
6/. Filter/Pen Tool/Render/Tree/Filter Render/Flame. (Here using the pen tool, create two paths across the whole image.
7/. Filter/Distort/Twirl - 380 degrees/Filter/Distort/Spherize.
8/. Filter/Stylize/Extrude (60 size, 30 depth).
9/. Filter/Distort/Wave.
10/. Image Adjustments/Invert/Image Adjustments/Shadow & Highlights.
11/. Filter/Stylize/Oil Paint/Filter/Stylize/Solarize.
12/. Image Adjustments/Invert/Filter/Lens Flare/Filter Filter Gallery/Patchwork.
 |
 |
 |
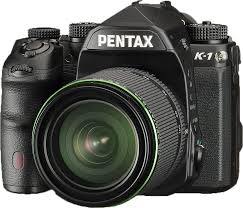
Pentax K-1 DSLR Swapable lens up to 250mm |
|
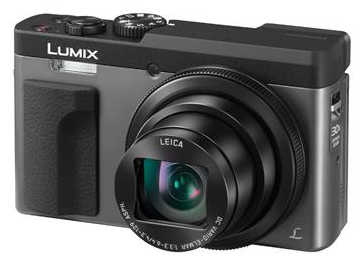
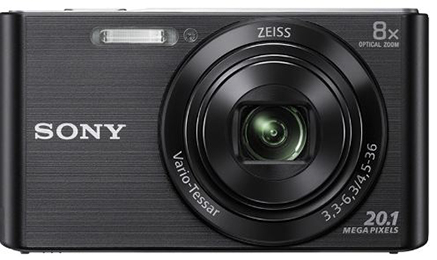
Sony Cybsershot DSC-W830 25-200mm zoom |
 |
Samsung Galaxy s10+ mobile phone with three cameras |
|
|
Resource -Gallery of Well Framed Photos | Resource - Digitisation of images |
|---|