A brief introduction to the main parts of Premiere Pro. Software for Video Editing.
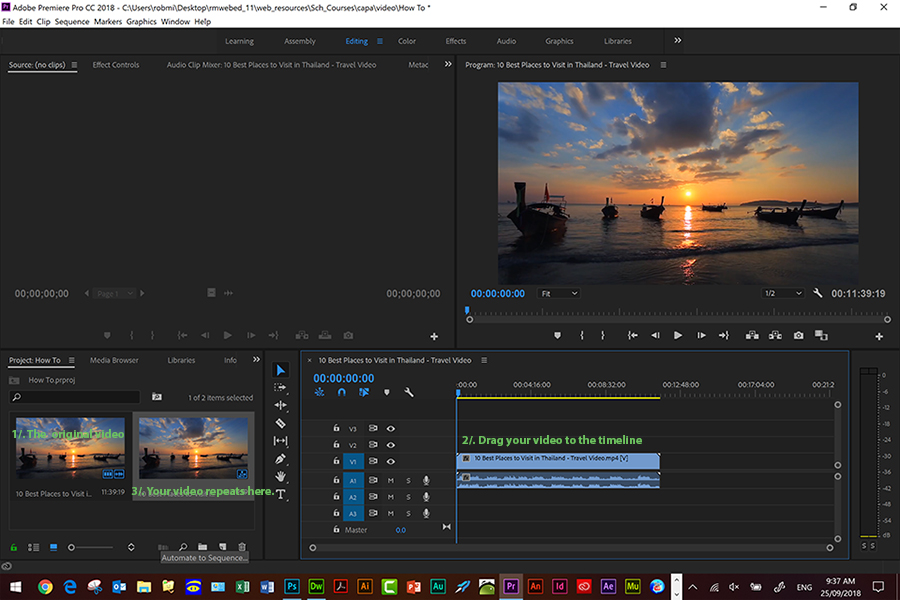
1/ . Open Premiere Pro and File New Project.
2/. Import your video. File/Import.
3/. Drag your video across to the timeline.
4/. Proofing.
Is a complex task and needs careful attention to detail.
Play your video through and using the time sector note where editing will need to take place.

5/. Editing
Place the cursor where a selection is to be deleted on the left. A red set of arrows will appear. Drag the arrow across to where you want the edit to stop and the selection will be removed.
Do this for all edits.
Finally when completed, drag the video back flush with the left side of the timeline , (see the images below).
After editing.
After re-alignment, there is no gap to the left of the timeline.


6/. Play the video through again and check all is the way you want it to be.
7/. If all is good, File/Export/Media to MPEG4 and your video will render. This will take a few minutes to complete.
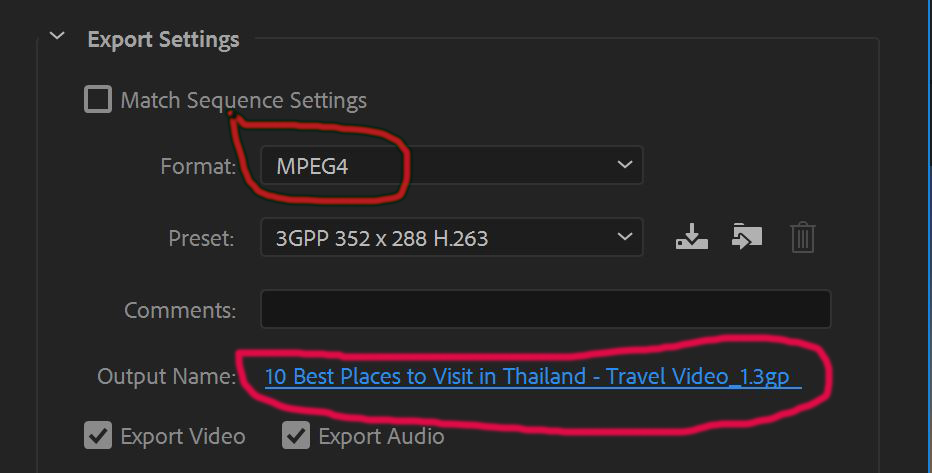
Change the Output Name to your UDrive folder.
8/. Then when done, go to the video in the folder and click on it. Open with Windows Media Player and play your now rendered (final cut) video.
Do not play your video in Premiere Pro, instead use Windows Media Player or Windows Film and Video.
| Here's the starter link | Scripting the Video | Storyboarding | Casting | Props & Green Screening | The Cameras - How to use | Video Editing | Sound Editing/Dubbing | Index |