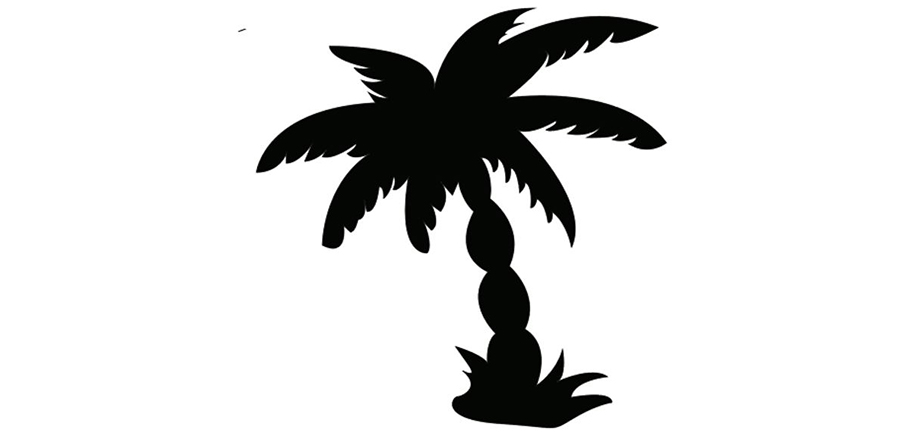
Project Name: Palm Tree Lamp Cover
These are these are the steps taken to create your Image:
1/. If you haven't as yet - Open Illustrator, double click on this icon:
2/. From the AI Images folder, open the Image you are going to copy draw.
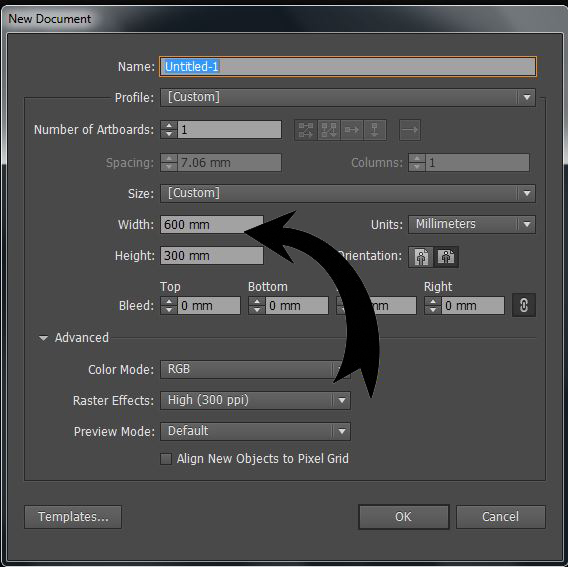
3/. Create a new Documnet 600x300 mm, with the margins set to '0'.
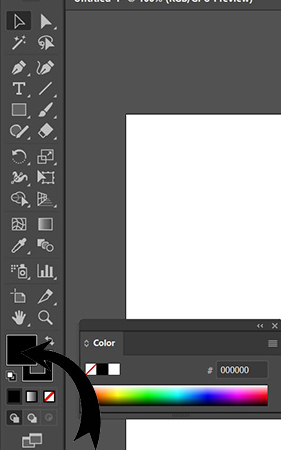
4/. Change the stroke to .001
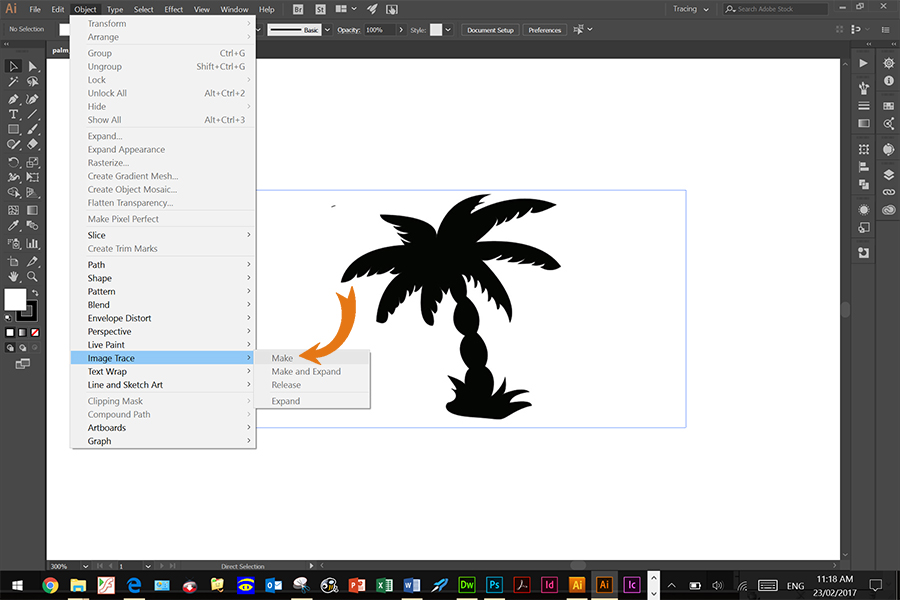
5/. Use the Pen Tool for to draw the object.

6/. Ensure the colour selection is all black. If the colour window is not open, then Window - Colour and the colour window opens. Select black fill.
7/. Using the pen tool start drawing the Palm Tree shape outline. The outline fills as it works the shape and then
copy it (ctrl + A +C) paste (ctrl + V). To stop the pen drawing press the letter P on the keyboard.

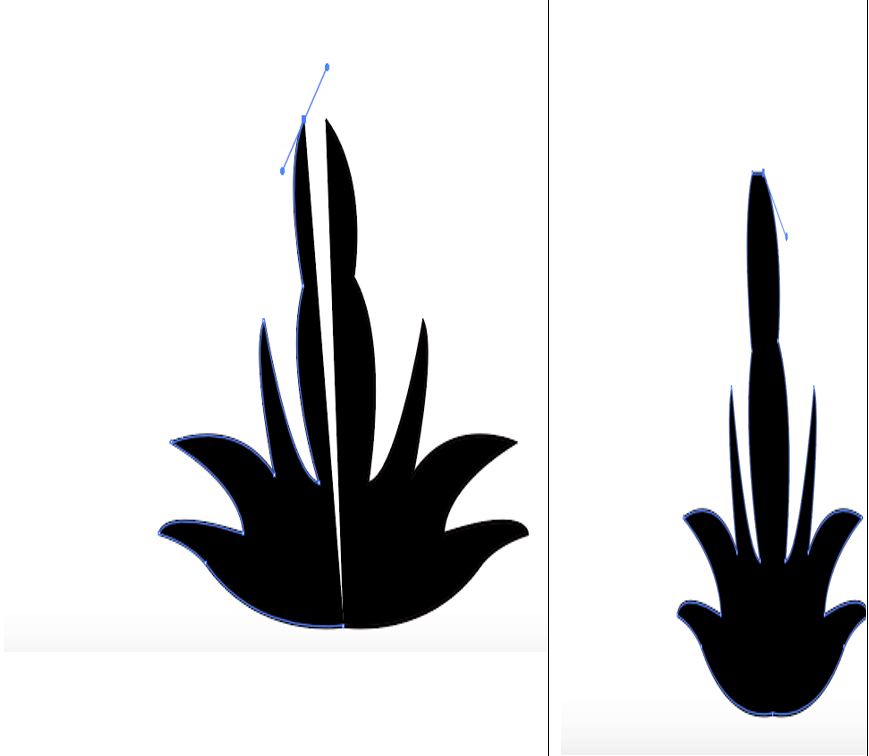
8/. Draw the palm tree fronds slowly with the pen curl. Click to select all and then copy and paste, the palm frond, using corner of the object to select and change the way it stands.
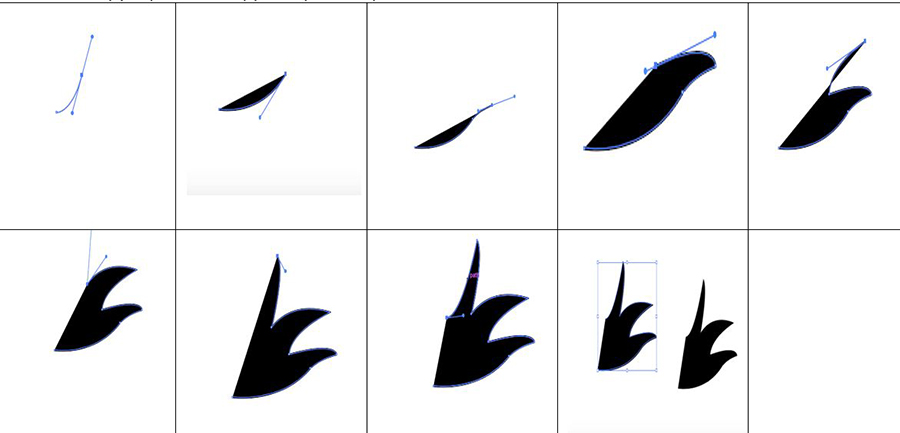
9/. Then start drawing the palm leaves.
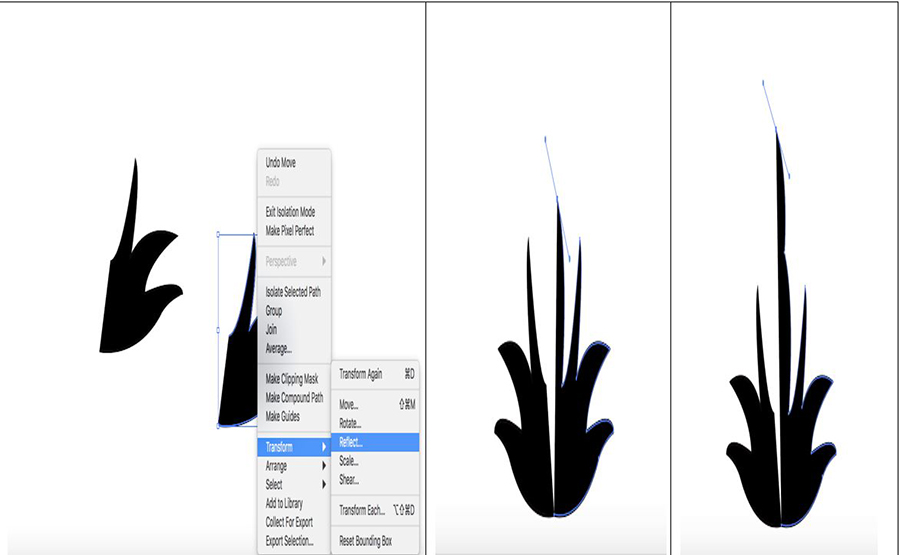
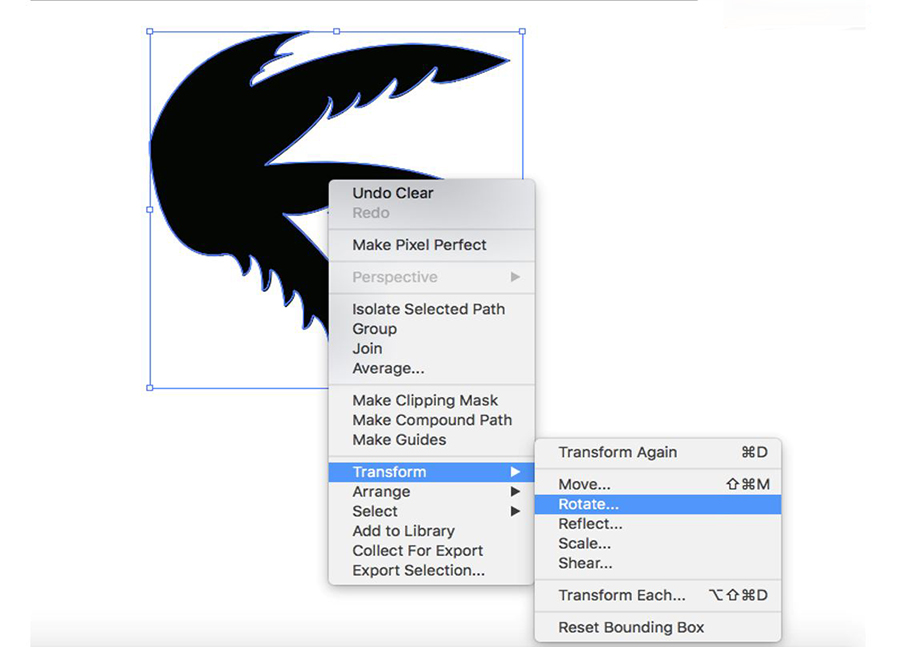
10/. Select the image horizontally to create the other side of the palm, by Transform and Rotate to the required angle.
11/. Complete the build, then compare the original image and the one copied.
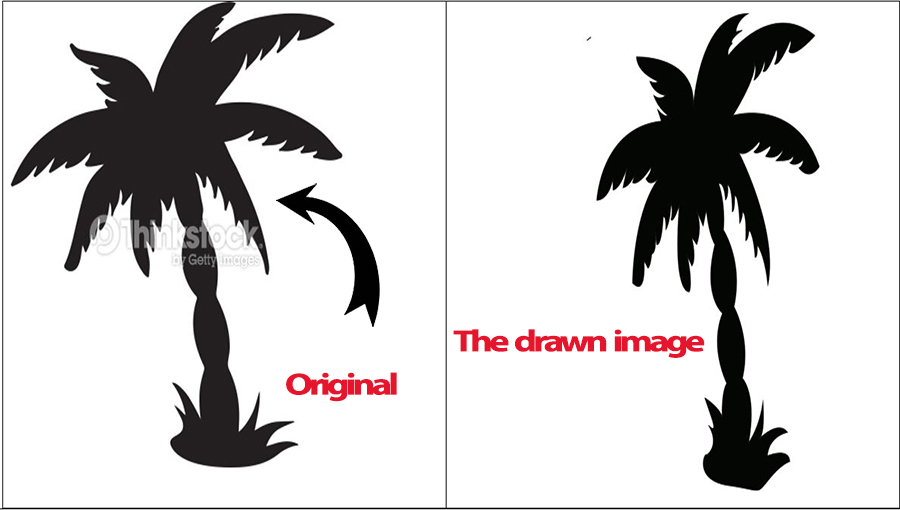
12/. This is the final drawn image. Save it to your folder.
13/. The final step is to enable the palm tree to be laser cut.