Building a Fancy Icon
Final Image: Fantasy Building Icon

Step 1
Building start simple: with rectangles. Draw two rectangles, one overlapping the other, with the Rectangle Tool. Select each of the top anchor points of the top rectangle in turn and angle it inward. Adjust the size relationship between these two objects as you see fit.

Step 2
Draw a rectangle and pull the lower anchor points inward to round out the bottom. Add several of these shapes to the bottom and top of the little building. Start drawing doors or windows on your building.
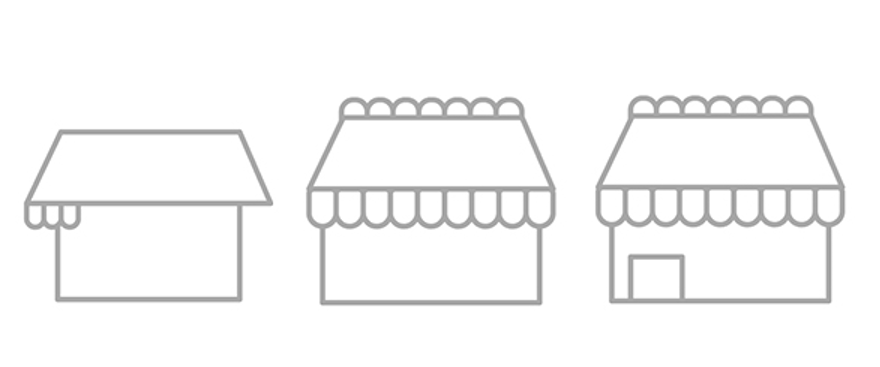
Step 3
I opted for two rounded arches in the lower centre of my building to serve as doors. Three horizontal lines completed the building’s little roof. For the building’s platform, draw three rectangles, each one smaller than the last. Round out the bottom edge of each of these rectangles. Draw trees and plants with line segments, circles, and arcs on either side of the building.

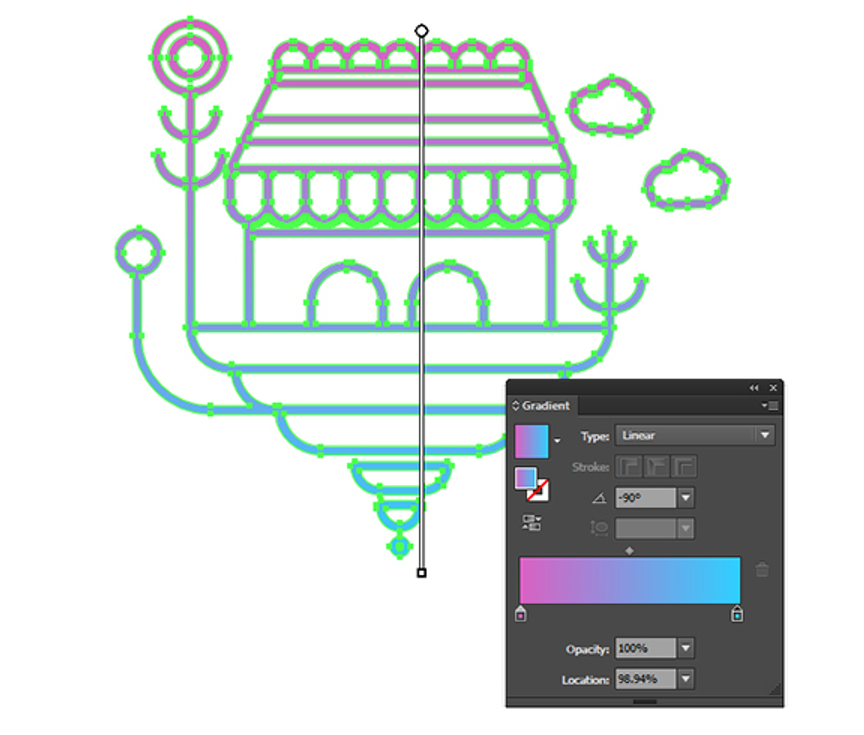
Step 4
Add clouds, additional flowers or trees, and small circles and rounded rectangles at the bottom of the icon design. Notice how it looks as though the little building is floating amongst the clouds.

Step 5
Expand the icon’s strokes and Unite the objects in the Pathfinder panel. Apply a bright coloured Linear Gradient to the newly united object.
Step 6
Duplicate the icon and offset it slightly behind the original icon so it’s peeking out from behind the original design. Set the Blending Mode to Multiply and its Opacity to 34%.The final image.