How Sweet! Chocolate Text Vector Image
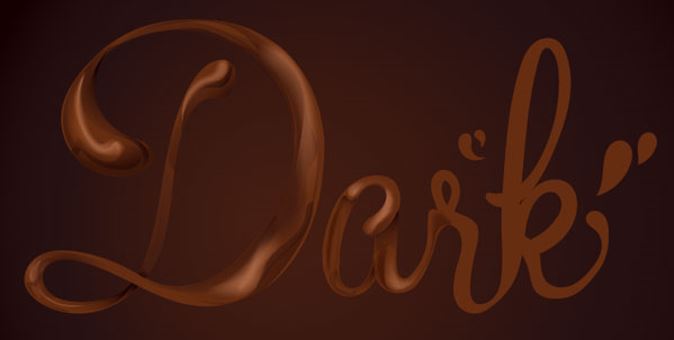
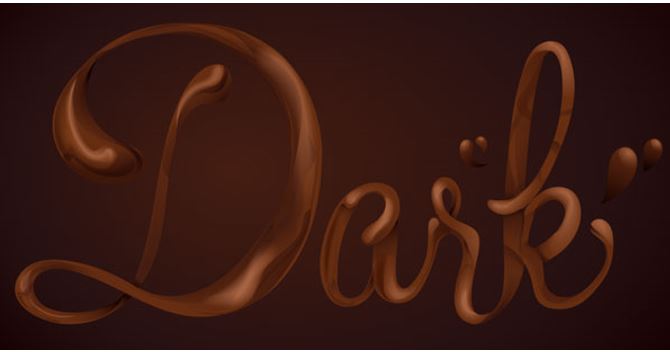
Final Image: How Sweet! Chocolate Text.
Step 1: Chocolate Text Vector
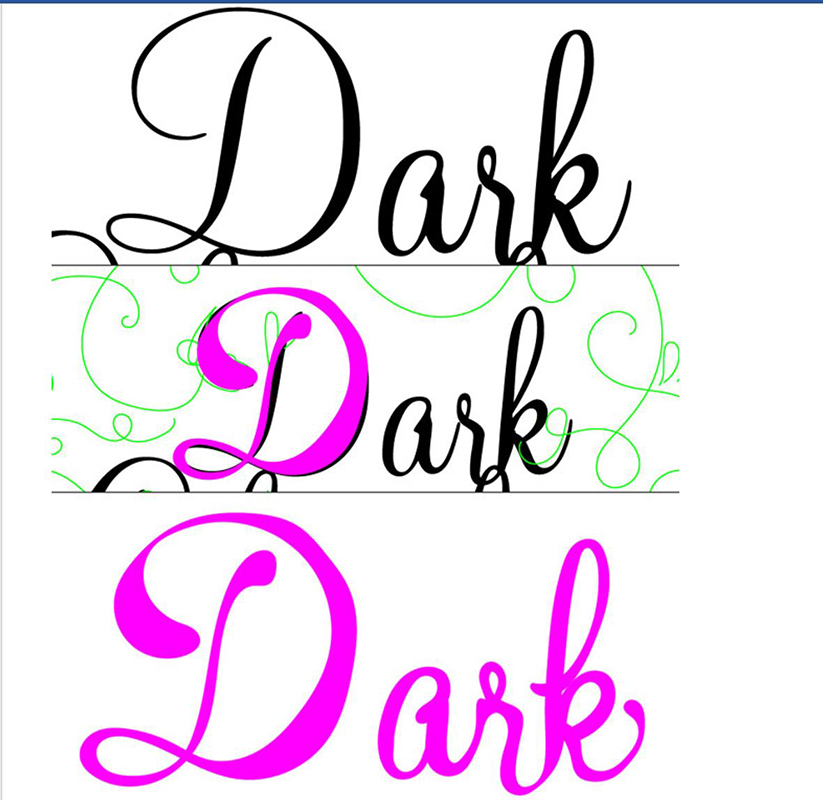
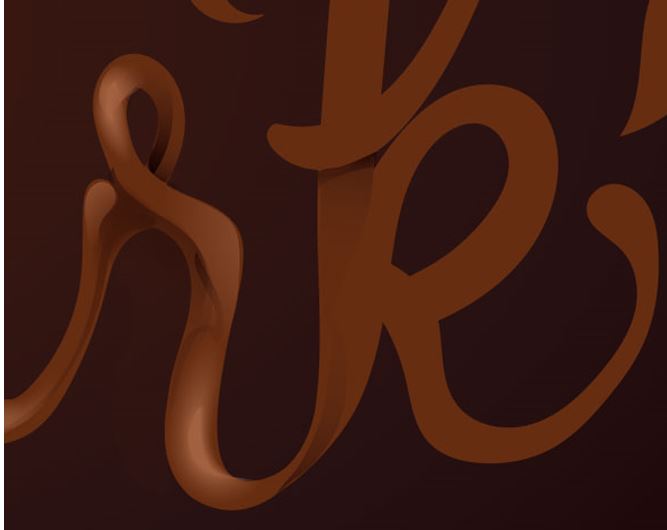
Start your chocolate text vector design with a script font you like. I chose AT Mahogany Script. While this design is based on “Dark Chocolate”, for the sake of avoiding redundancy, we’ll focus on the work “Dark”.
Use the Pen Tool or Pencil Tool (whichever you’re most comfortable with) and use the font as a template for your letter chocolate text vector design, changing the glyph as needed.I wanted each letter to look like it was drawn with goopy, liquid chocolate. I accentuated the ends of each letter and thickened their connections. Group (Control-G) together your letters, once satisfied with their style, and hide the text group in the Layers panel.
Step 2
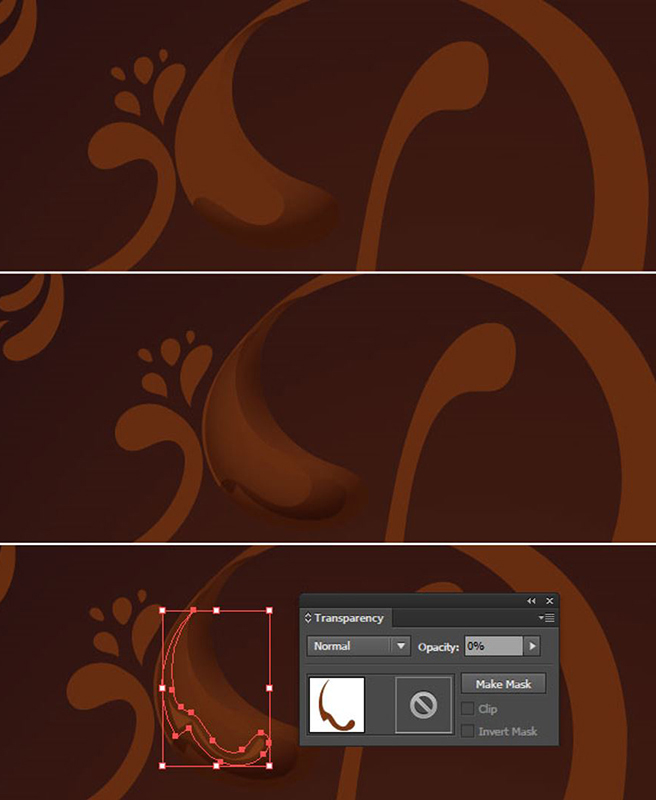
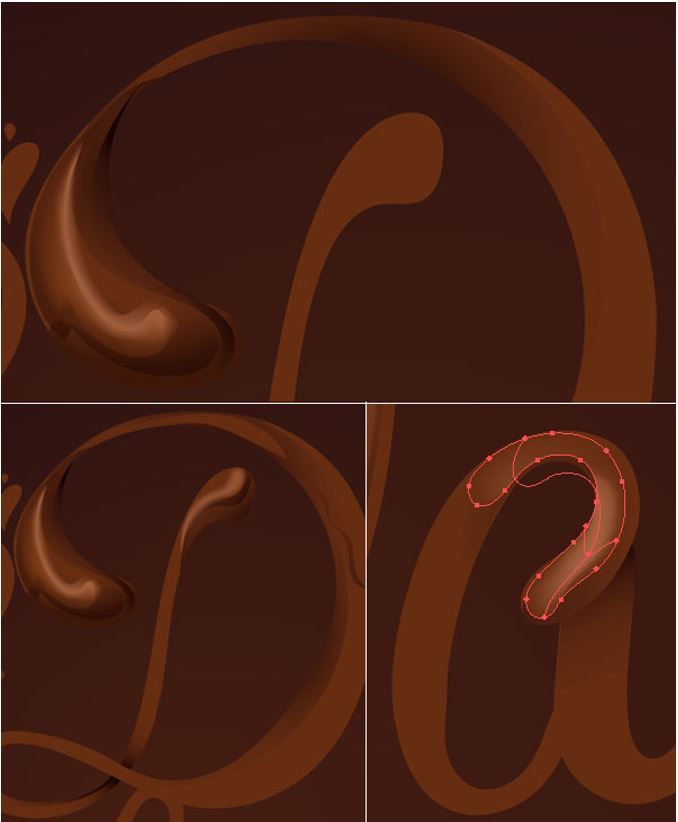
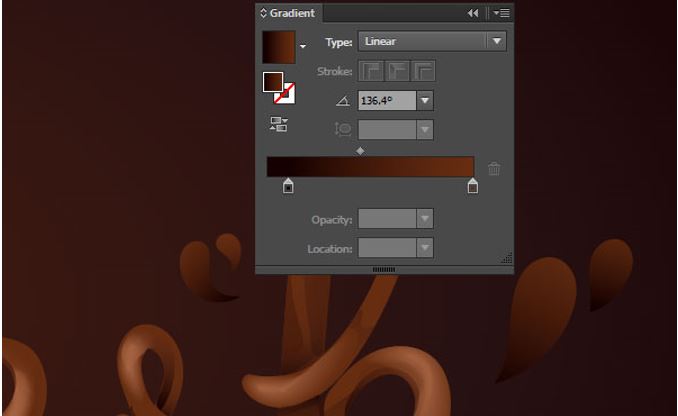
Draw additional teardrop and splash shapes around your newly drawn word and set the fill color to brown. With the Pen Tool or Pencil Tool, draw gradient shapes on the top of the letter D to start shading the chocolate text vector design.
The Linear Gradient I used goes from dark brown at 100% Opacity to the same brown used for the base letters at 0% Opacity. Use the Gradient Tool to adjust the angle of your gradient and the Gradient panel to adjust each gradient’s opacity settings. the goal is to give the letters dimension as well as draw squiggle shapes through the design.
Step 3
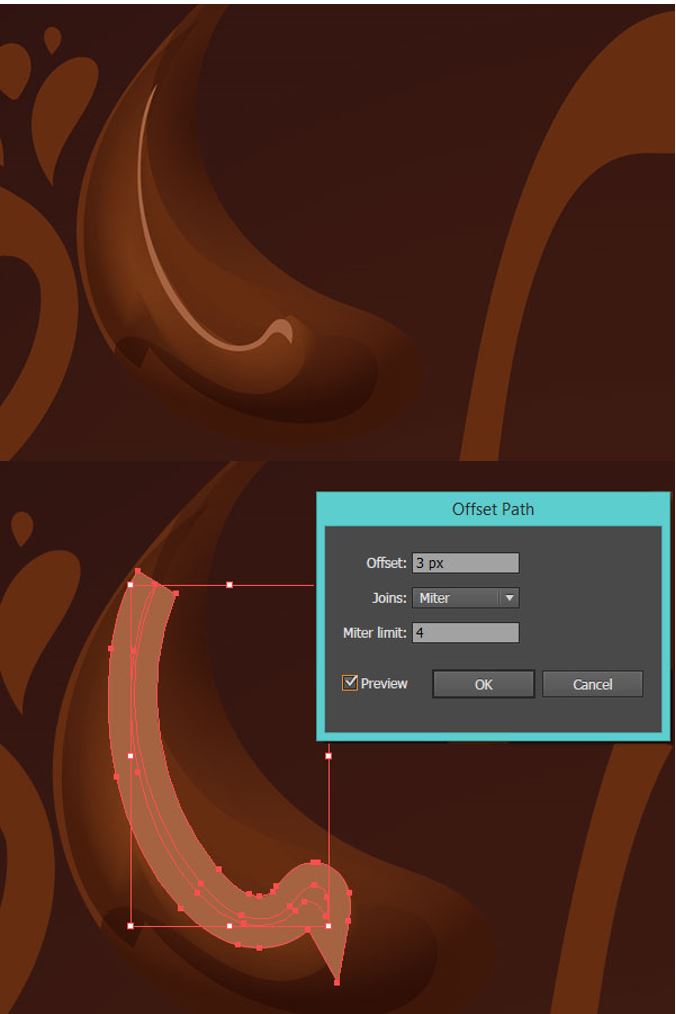
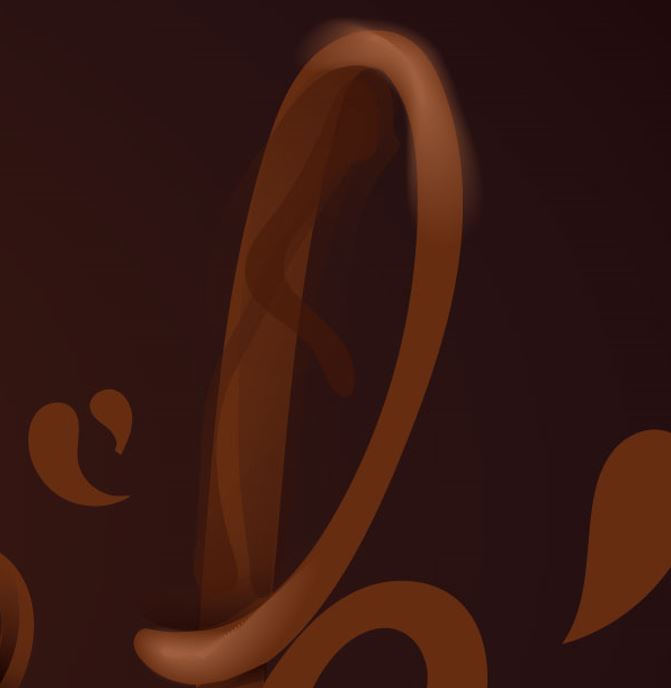
For highlights on your chocolate text vector, using a very light brown, draw a thin squiggly shape. Go to Object/Path/ Offset Path and enter 2-4 px for the Offset.
Step 4
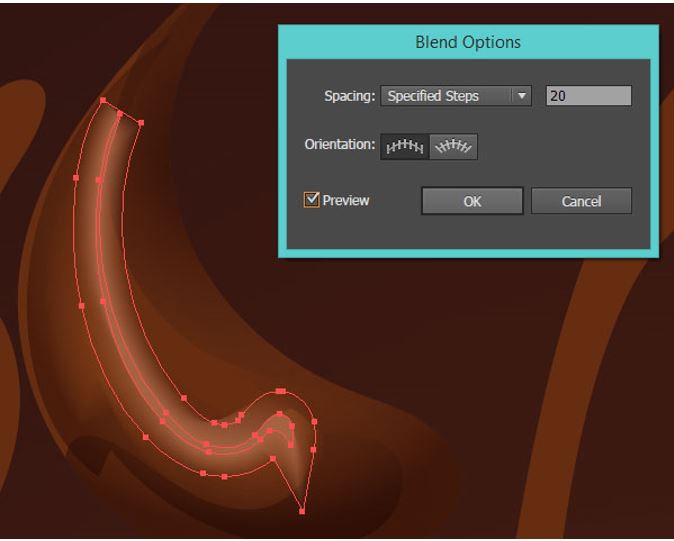
Set the larger object’s Opacity to 0% in the Transparency panel. Select both shapes and use the Blend Tool to make a blend of 20 Steps or so. You want it to be a smooth blend. Reduce the blend’s opacity as needed in the Transparency panel.
Step 5
Continue using Linear Gradients and Radial Gradients for shadow shapes that follow the contour of the letters, and creating blends of offset shapes for the highlights. Optionally, you can also draw a large squiggle, set the fill color as Null, and use the Mesh Tool to add a couple instances of light brown for the highlight shape.
Step 6
Note how some portions of each chocolate text vector letter overlap another. Use a darker brown gradient to draw shapes defining those sections so they stand out more while rendering your design.
Step 7
An alternative method with the Offset Path and Blend Tool is to create a larger shape and apply an Offset of -4 px, or so, before applying the blend (make sure the larger shape has an Opacity setting of 0%). In the case you’ve drawn a more difficult/less round shape, you can control the boundaries of the offset and blend more.
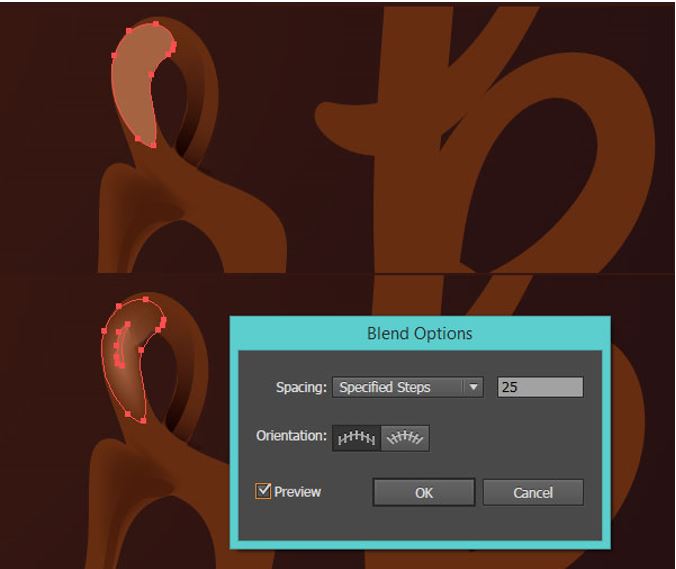
Step 8
Keep highlights at curving portions of the text and shadows on the undersides of the shape of the words when possible.
Step 9
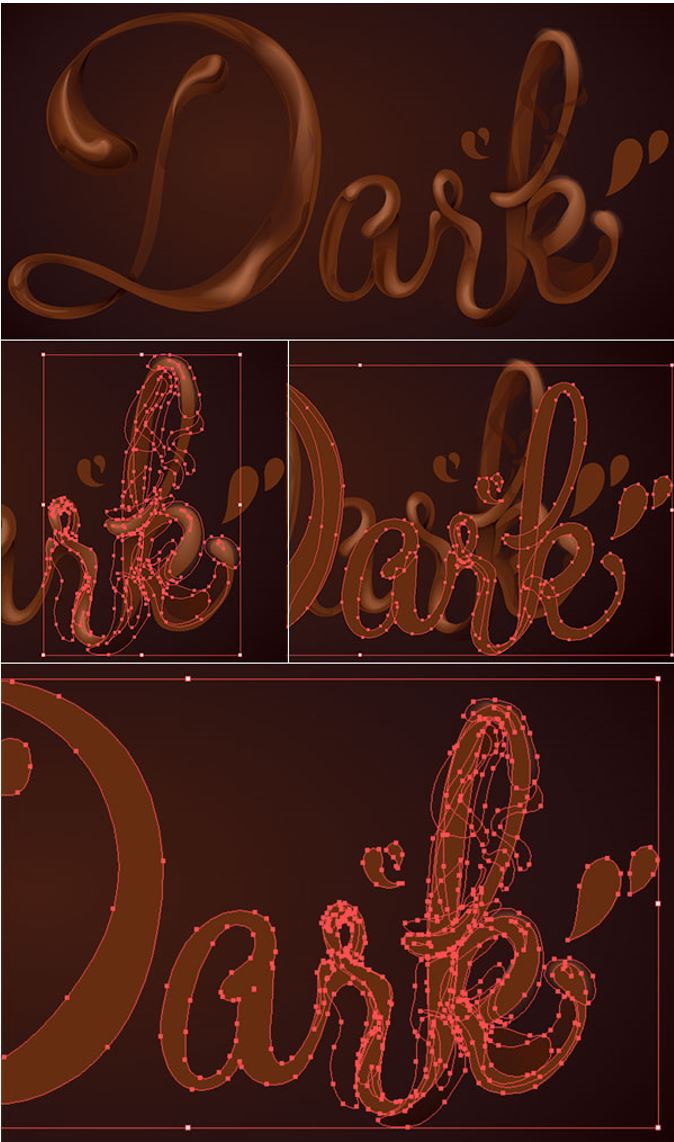
The letter K is difficult in this text, since it overlaps itself at multiple points. Determine what parts of each letter overlaps itself or others before rendering and make a note of it with dark brown linear gradient shapes (see below).
Step 10
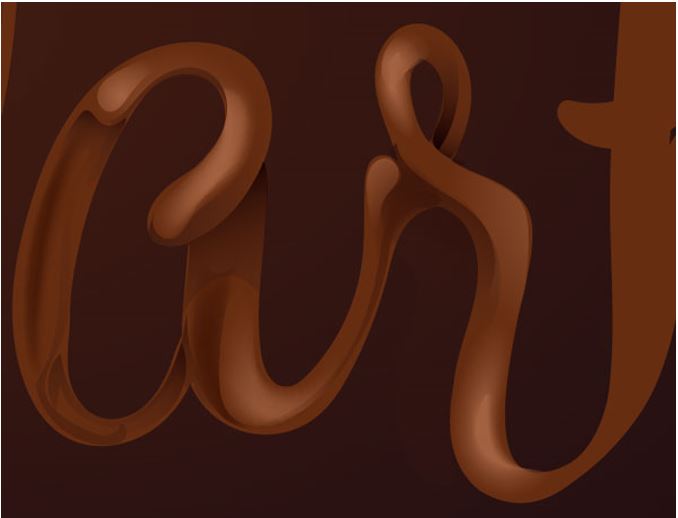
Keeping your chocolate text vector design within the boundaries of your letters can be a pain. As such, I’ve made more of a mess of rendering the letter K below. See how the blended highlight and gradient shapes used for shadows have been flung all over the letter.
Step 11
Group together the rendered components (gradients, blends, transparent objects) on your letter (or letters). Copy and Paste the base letter art drawn out at the start of this chocolate text vector tutorial and Unite the copied object in the Pathfinder panel.
Align the copied text with the main text of your image.
Select the rendered object group and the copied text (copied text shape needs to be above the mess of objects created over your letters) and Create a Clipping Mask (Control-7). Your messily rendered K from the previous step will now be clean and lovely.
Step 12
For the little splashes, select each and apply a Linear Gradient that goes from dark brown to brown. The darker color should be near the end of each shape.
Step 13
Draw smaller teardrop shapes on each splash and apply a Radial Gradient that goes from light brown at 100% to 0% Opacity (with the opaque color in the center of the gradient).
Step 14
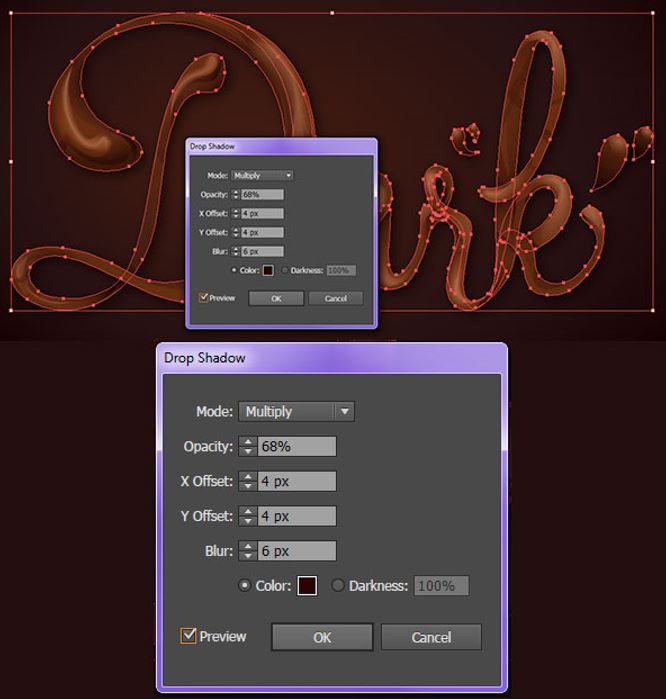
Select the main text underneath all of your rendering objects/groups and in the Appearance panel, hit Fx/Stylize/Drop Shadow. Apply the following attributes:
Mode:
Multiply
Opacity:
68%
X Offset:
4px
Y Offset:
4px
Blur:
6px
Color:
Brown
Conclusion: Chocolate Text Vector
Now that you’ve got the technique down, show off your chocolate-dipped typography in the comment section below! What other styles can this chocolate text vector technique be applied to?
Try ink, oil, candy, and other liquid media.