Tutorial Details: Vector Smoke
Final Image: Vector Smoke
Step 1: Create the Vector Smoke
To begin this vector smoke tutorial open your Adobe Illustrator and create a new document . Your artboard (file) shouild be 800px x 800px. You will work in the RGB color mode.
Step 2
Take the Rectangle Tool and create a dark-blue rectangle. It will serve us as our background. As a matter of fact, background can really be of any colour. And now create a rectangle with a black fill (R=0, G=0, B=0).
Step 3
Take the Gradient Mesh Tool and click on a black rectangle a few times (maybe three or four) with creating gradient mesh.
Step 4
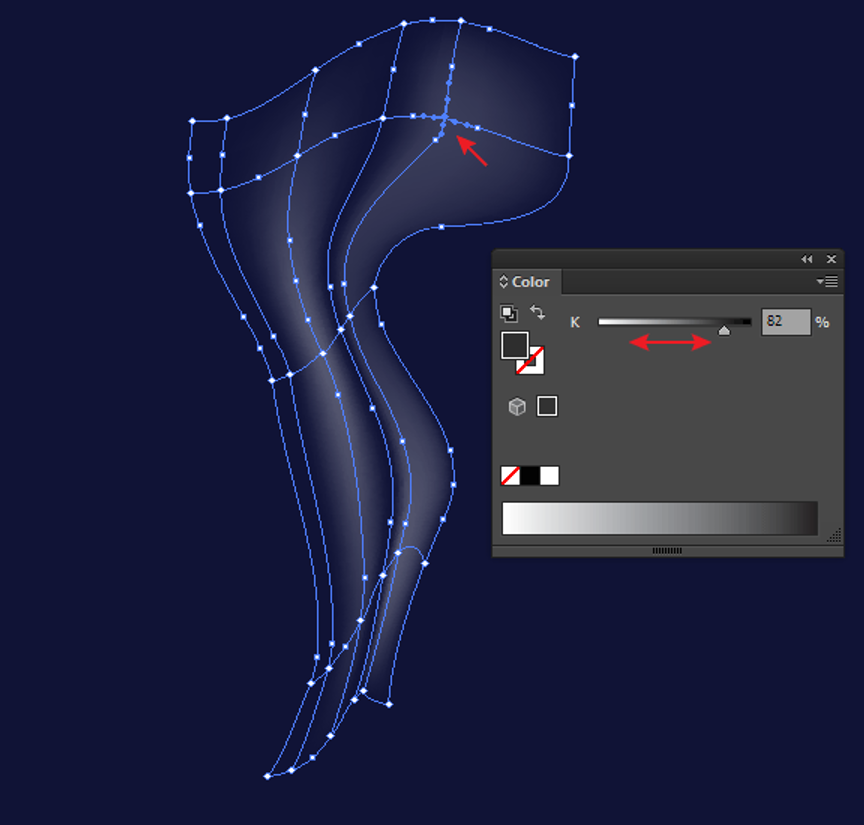
Re-colour a couple of inside mesh points into different shades of gray (or any really light colour).
Step 5
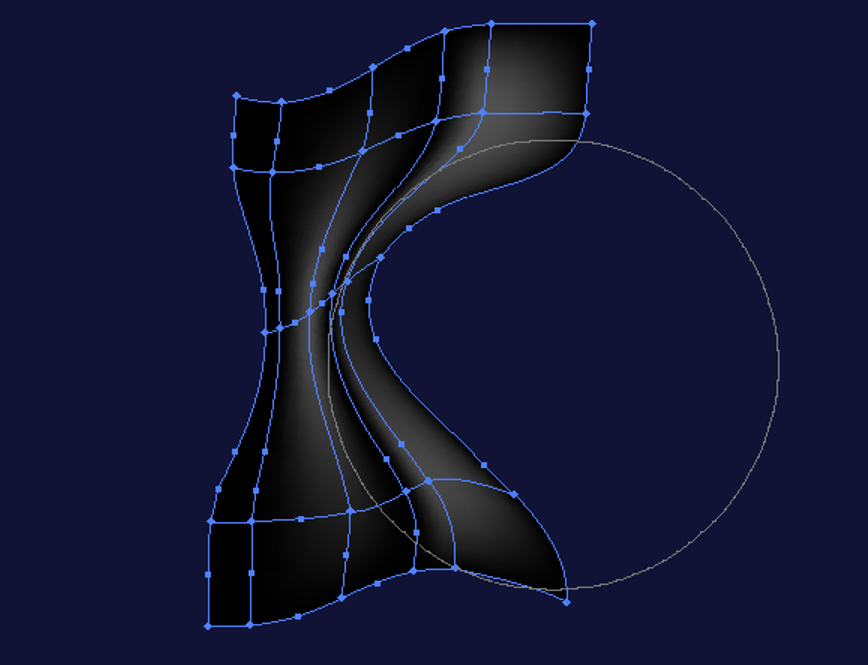
Take the Warp Tool and then click on Enter key in order to open the Warp Tool Options dialog box. Increase the size of the brush.
Step 6
Deform the gradient mesh as it is indicated on the figure below.
Step 7
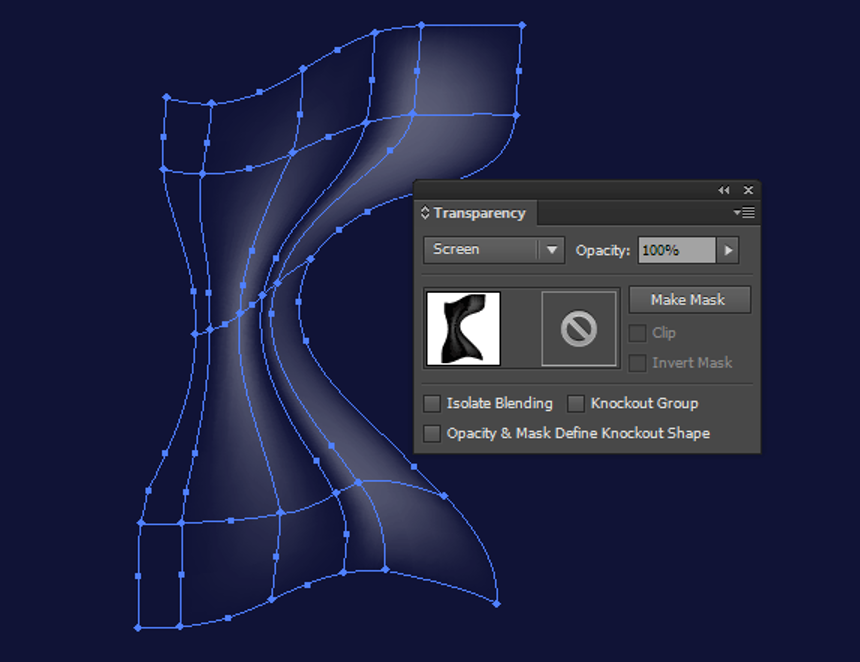
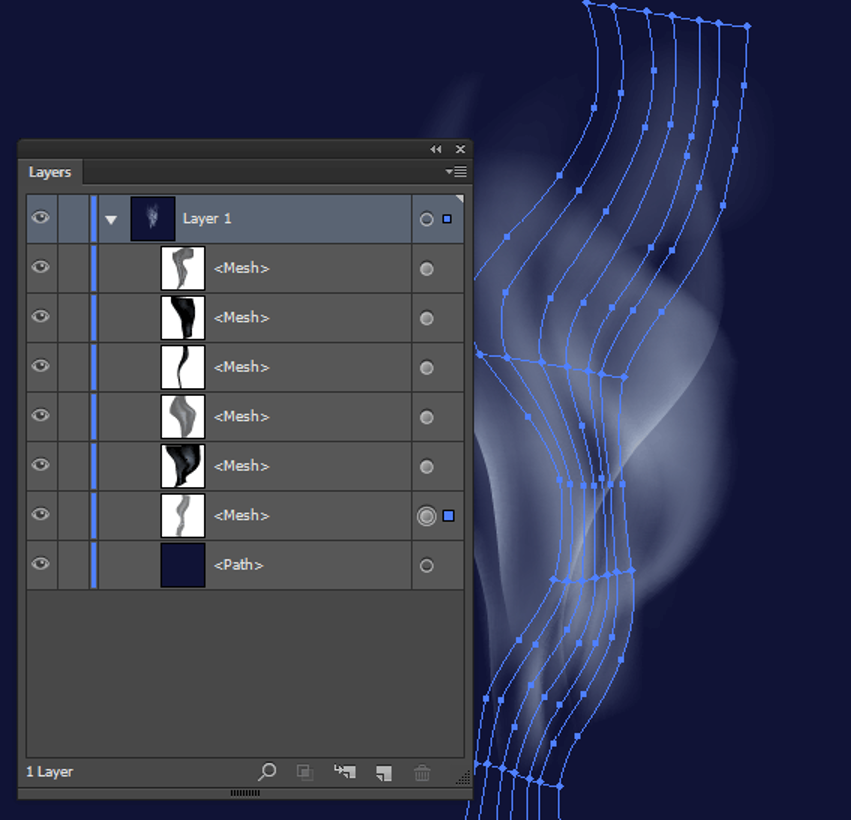
Apply the Screen blending mode to the gradient mesh in the Transparency panel. The black mesh points then became transparent.
Step 8
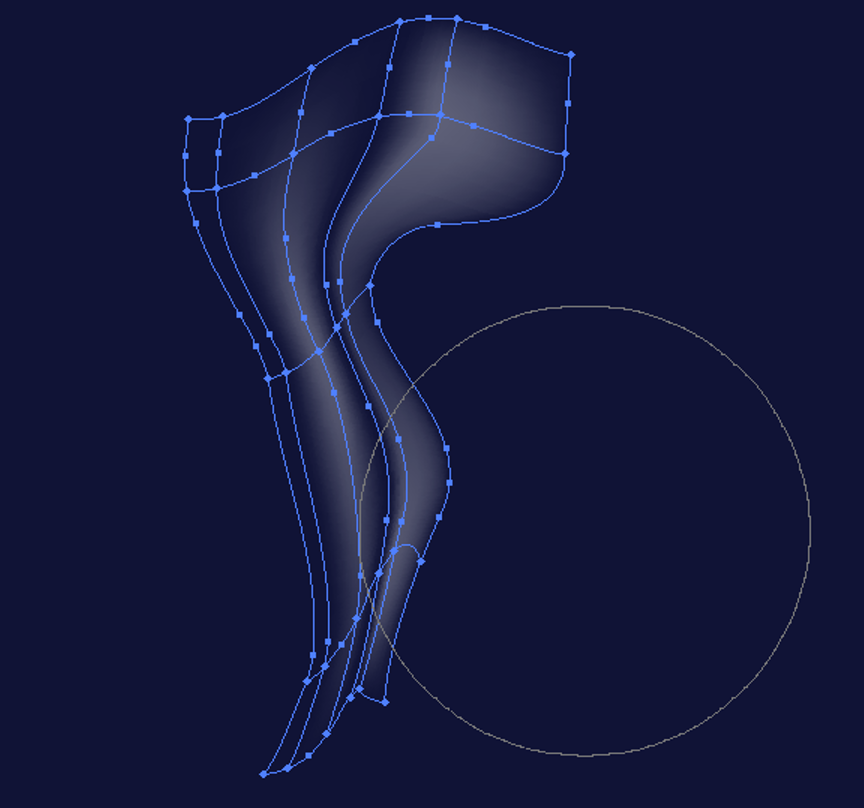
And now you can continue deforming the gradient mesh in order to get better result. If necessary, mesh points can be re-colored into another shade of grey which will cause the local change of transparency.
Step 9
Create some more gradient meshes in different shapes by using the described technique. When yo put these half-transparent objects over one another you get a vector smoke.
Perhaps, after combining all gradient meshes you may need to work some more on your form and color of smoke. The last stage is definitely the most difficult but always try to get the best out of it.
You are done, enjoy!