Masking Images in Photoshop.
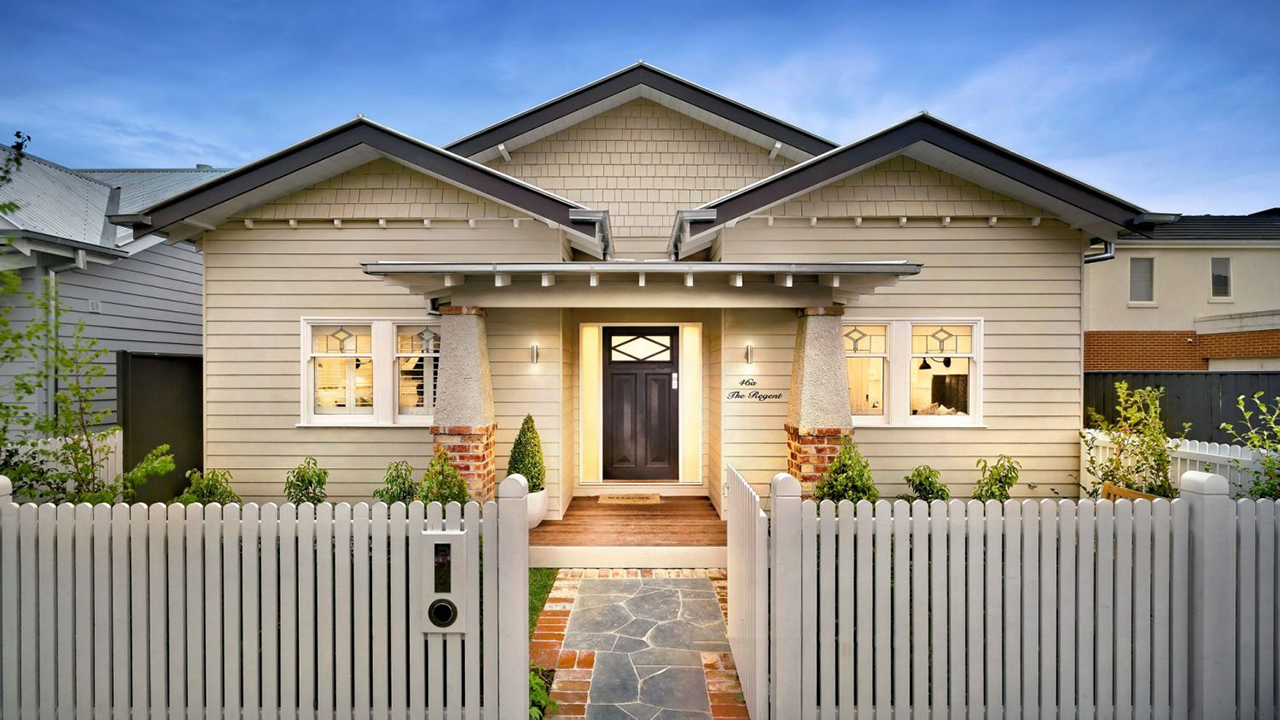
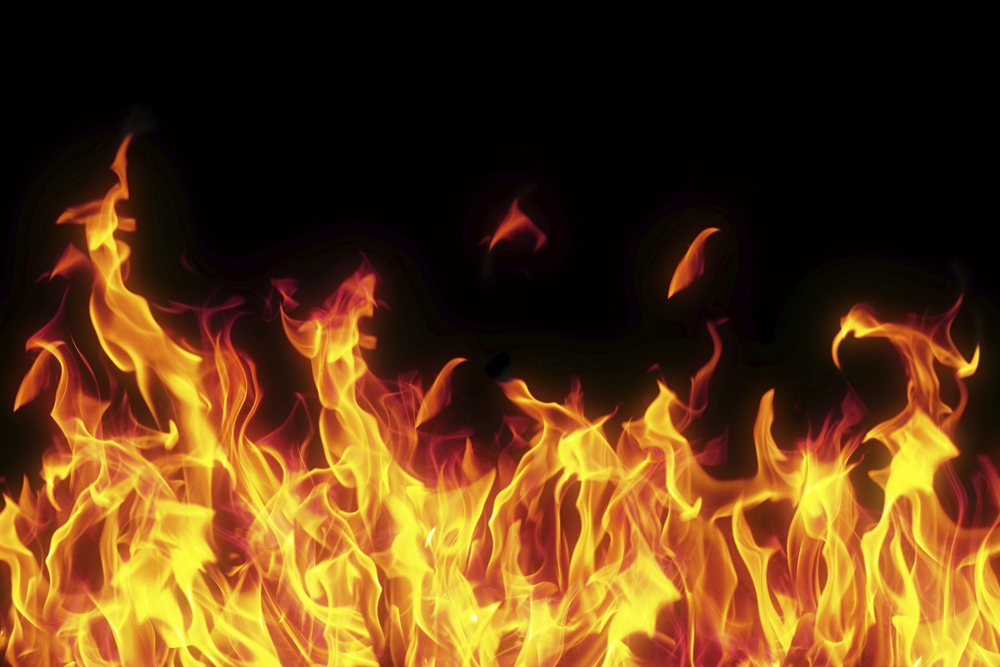
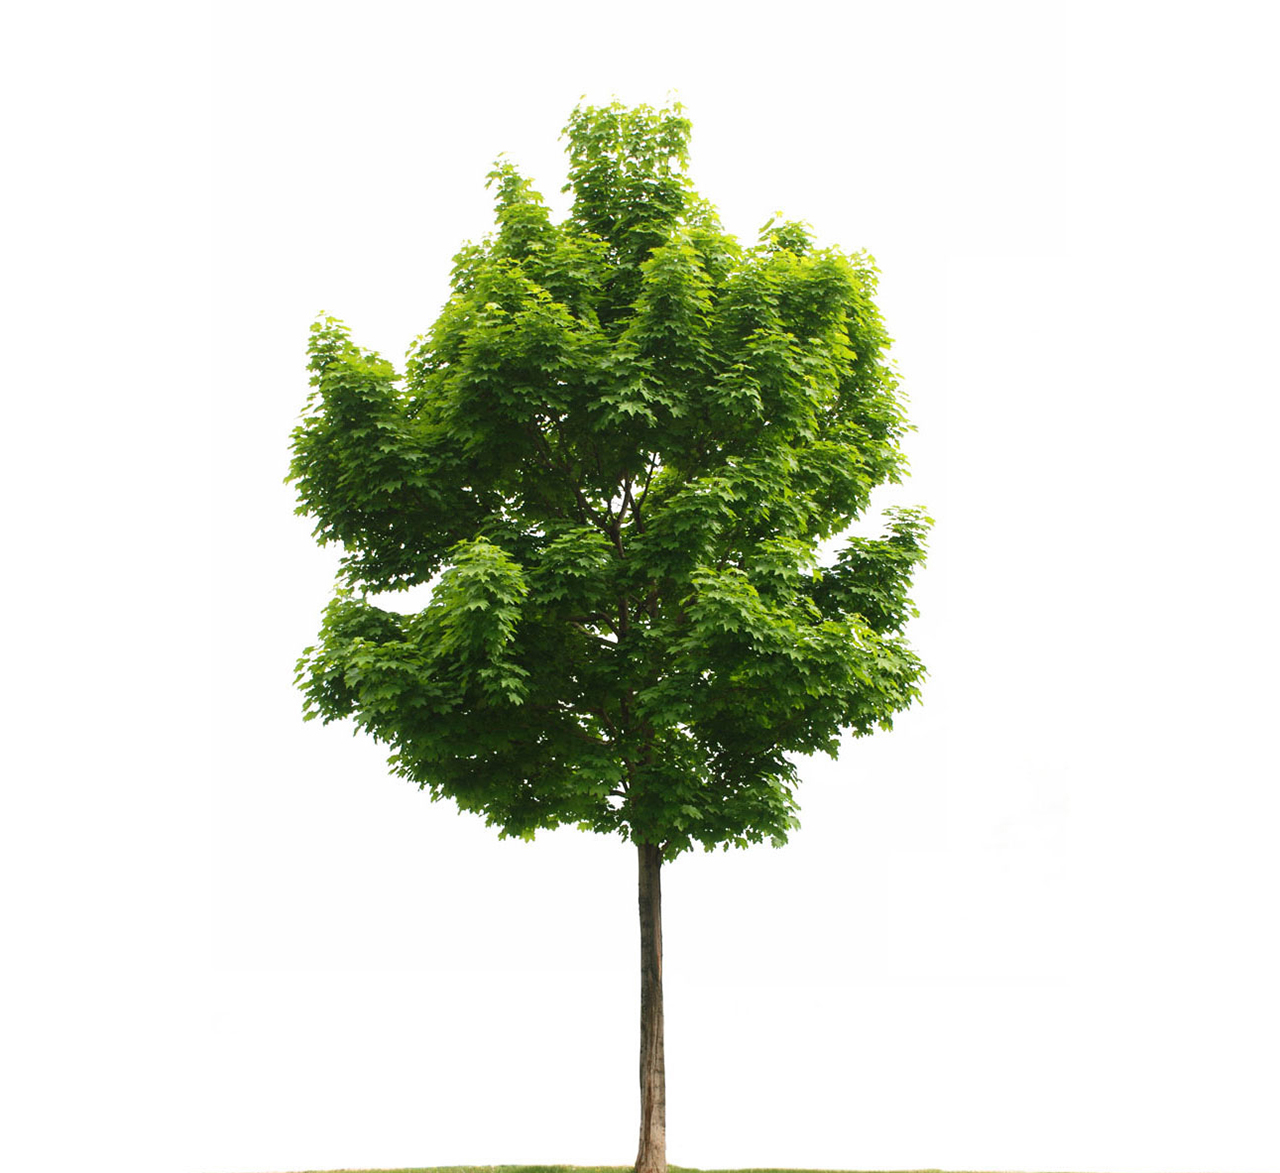
1/. Find three images which could be masked together. In this example - a house, a fire and a tree.
2/. Resize the images so they are proportioned, to the appropriate size. The background should be large.
The final image used here is a cottage, with a fire out front and a tree.
 |
 |
 |
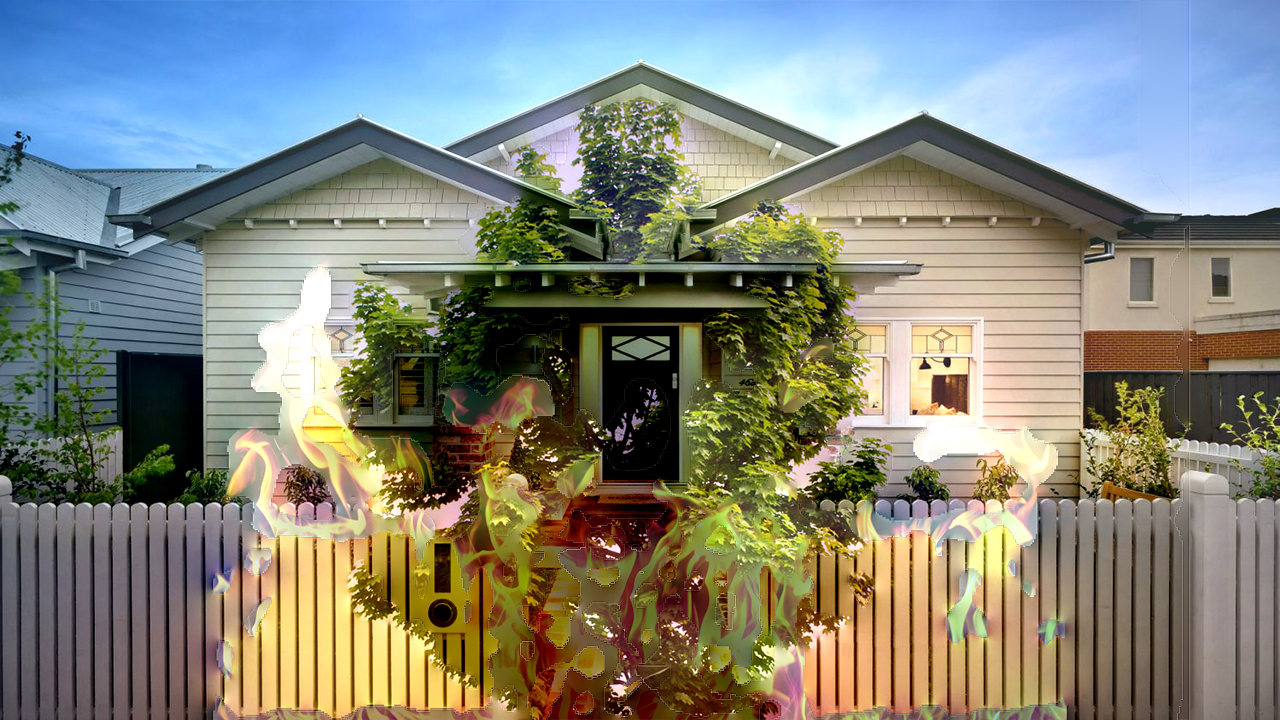 |
| 1/. A cottage | 2/. A fire | 3/. A tree | 4/. The finished image. |
The full sized images are linked to the thumbs above.
This is how it is all done in Photoshop using layers and a layer mask.
1/. Open the background image.
2/. Open the next two images.
3/. Copy/paste the two images to the same file as the background, ensuring the background image is the bottom layer. If layers are not shown, Window/Layers turn on the layers.
4/. Select all the layers - Shift/Click, so they are highlighted.
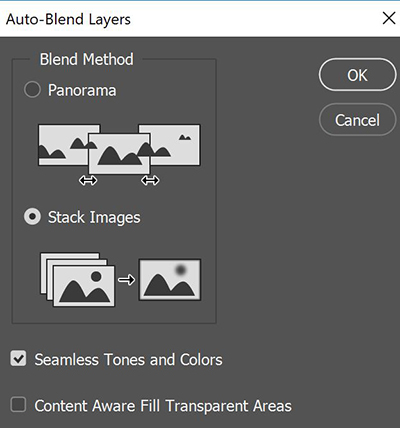
5/. Edit/Auto-Blend Layers and use the settings - Stack Images and Seamless Tones and Colours.
Here's a more complex example, that requires a lot of background removal on the image:
 |
 |
 |
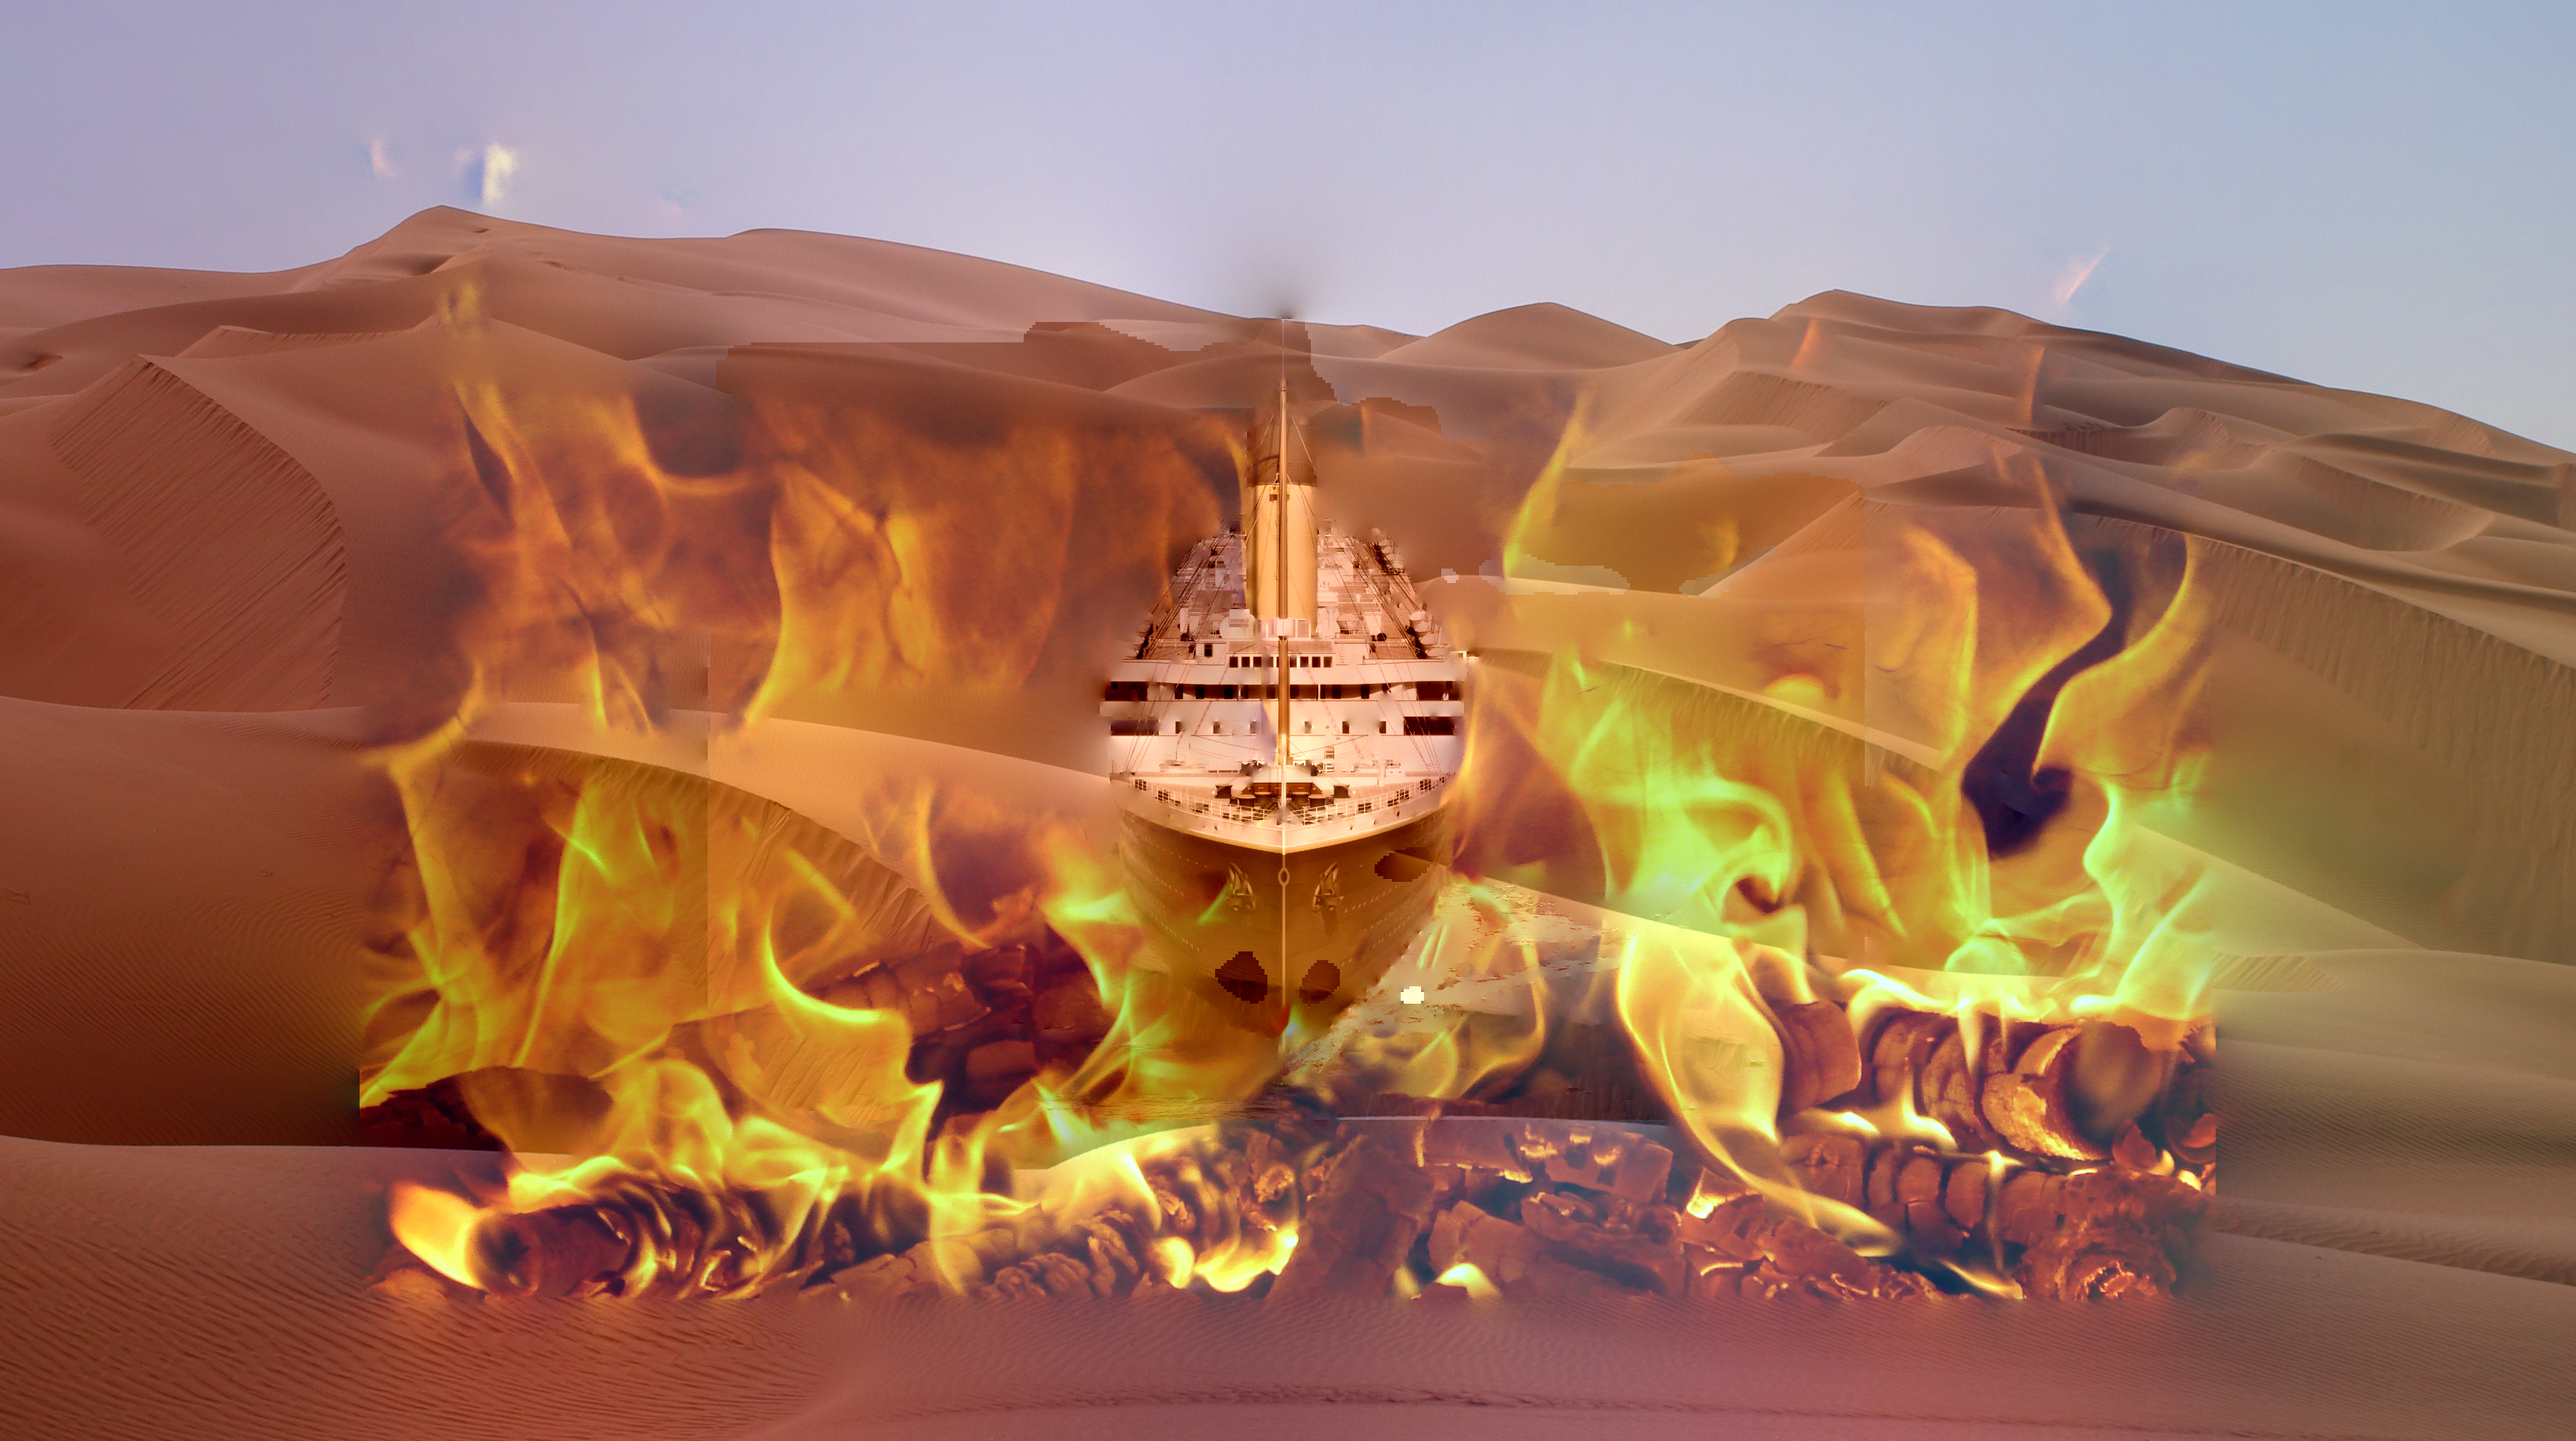 |
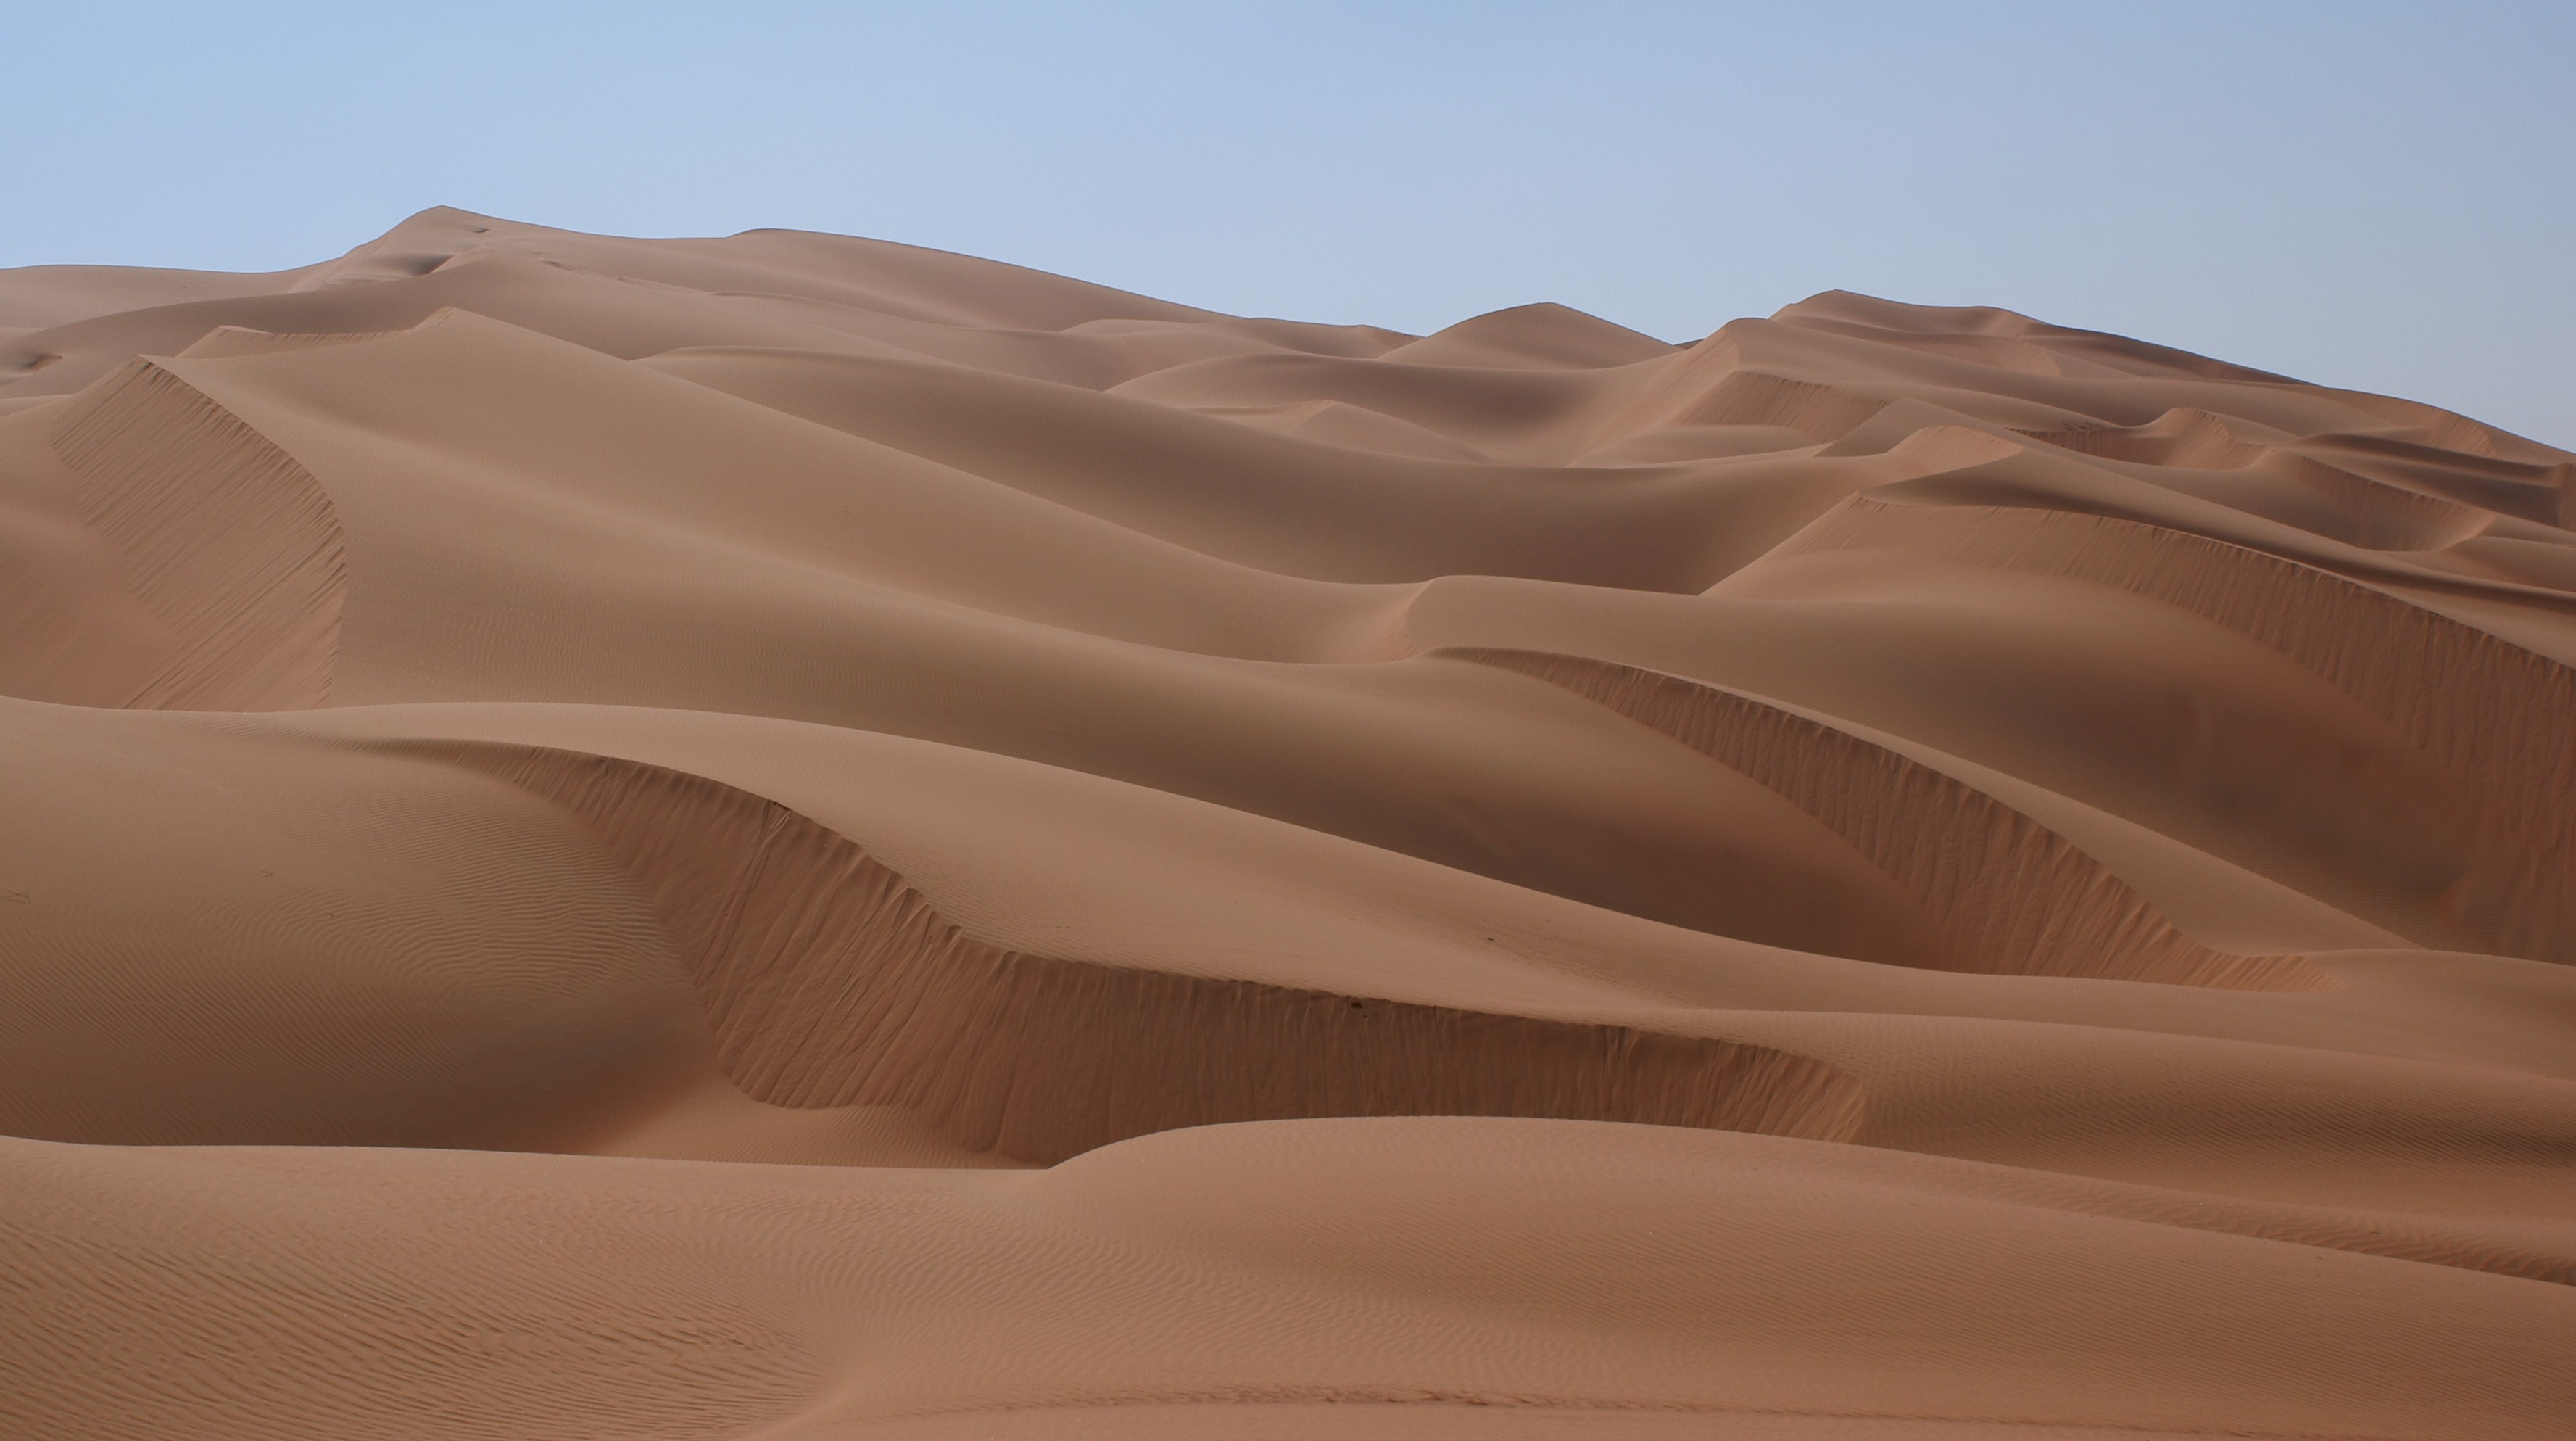
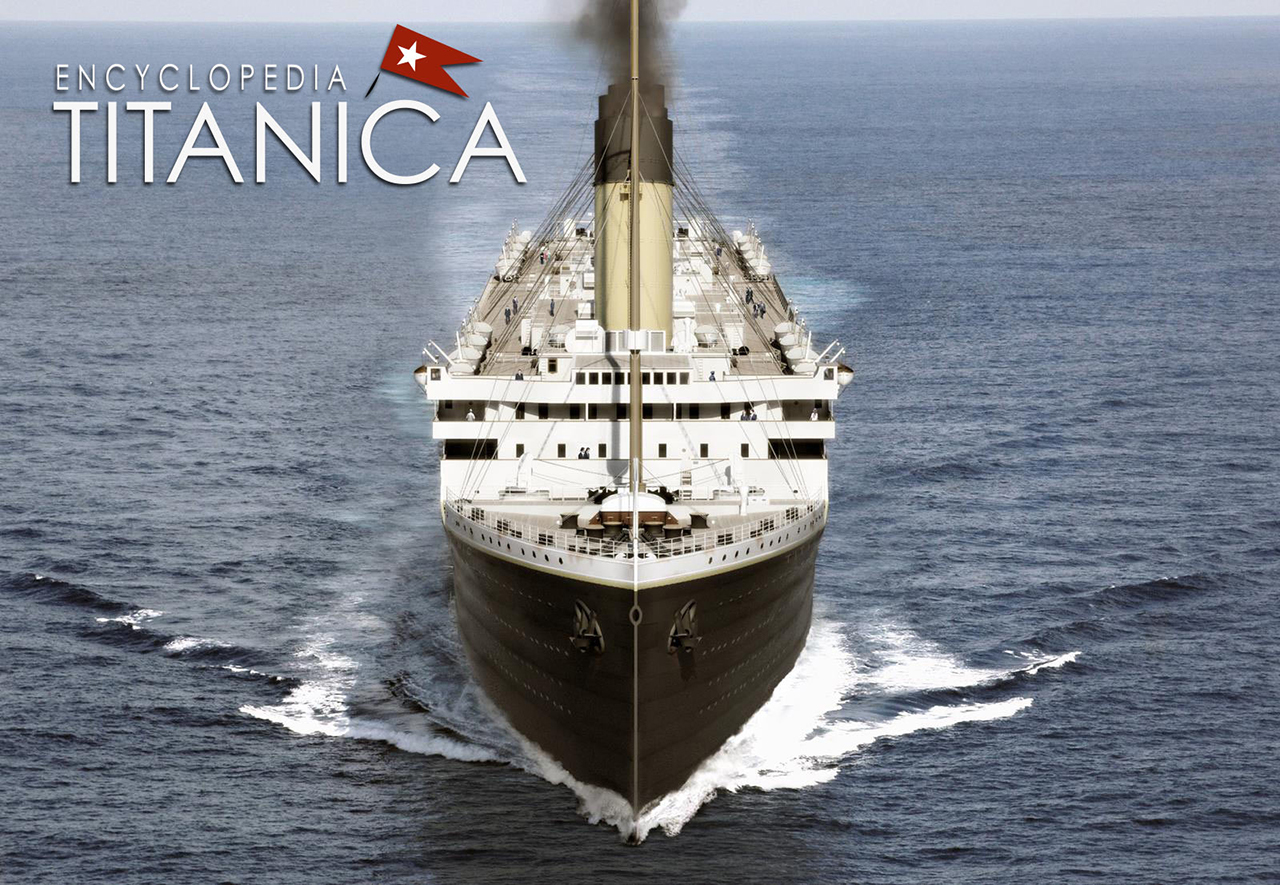
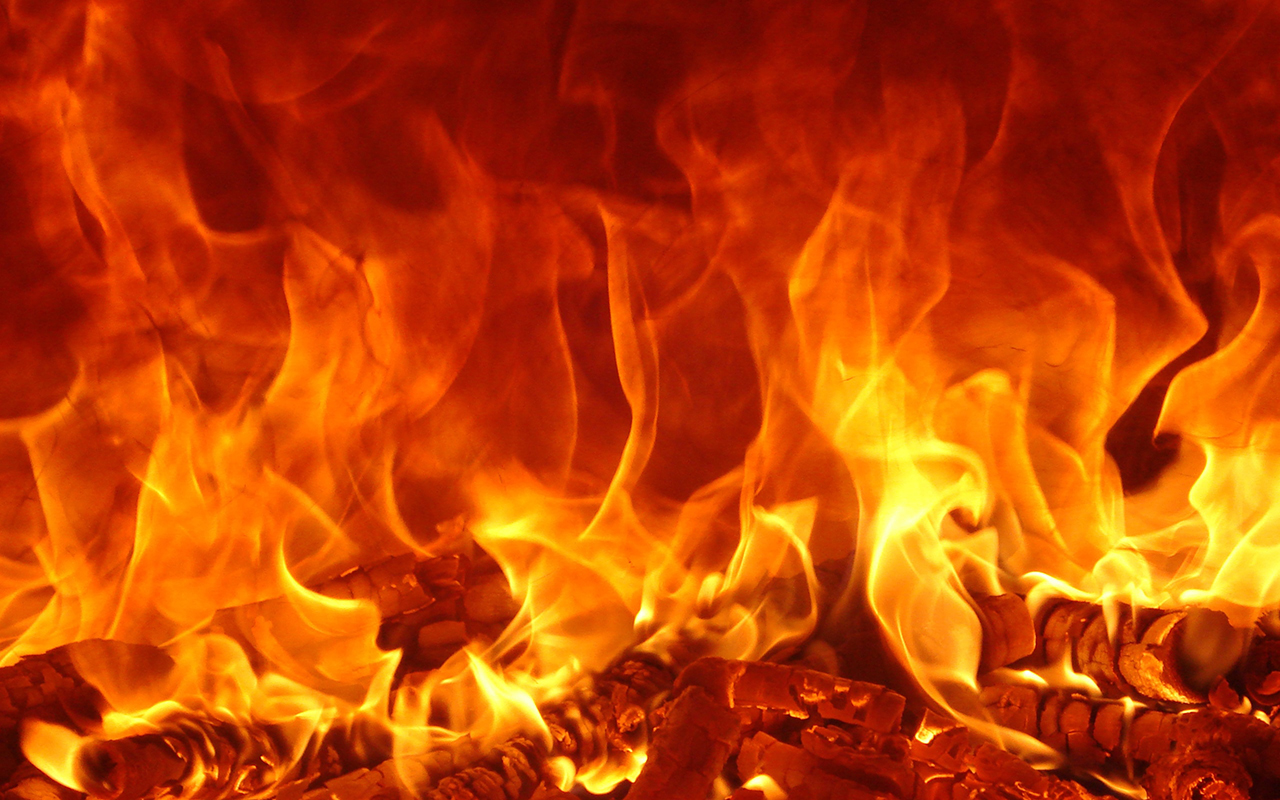
| A desert scene | A ship (with a lot of background removed - using the eraser) | A fire | The result |
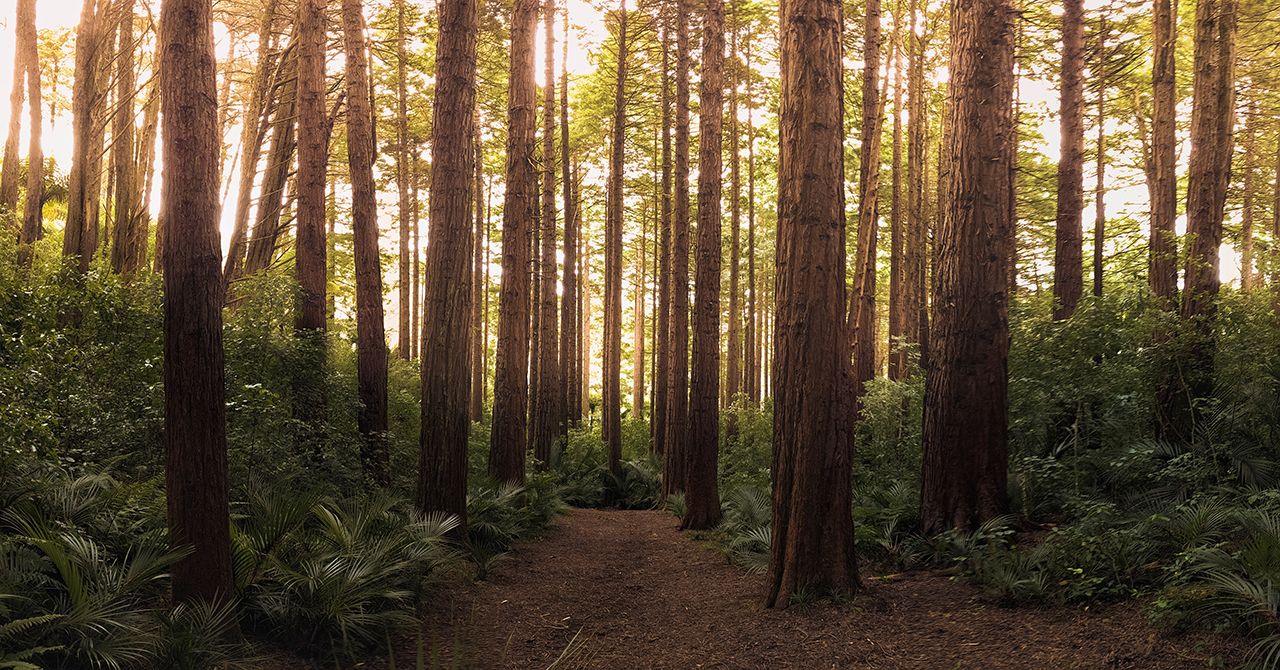
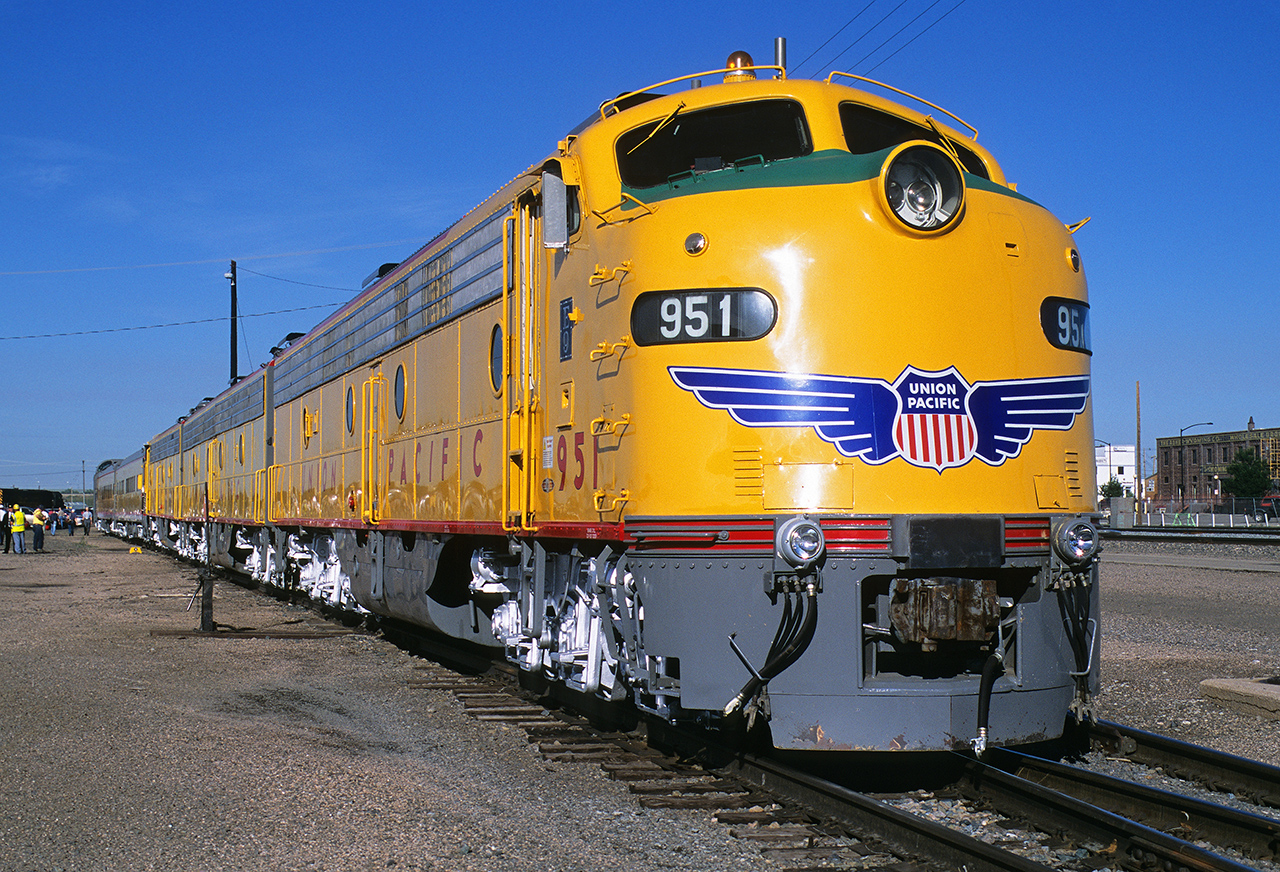
Here's another example:
 |
|
 |
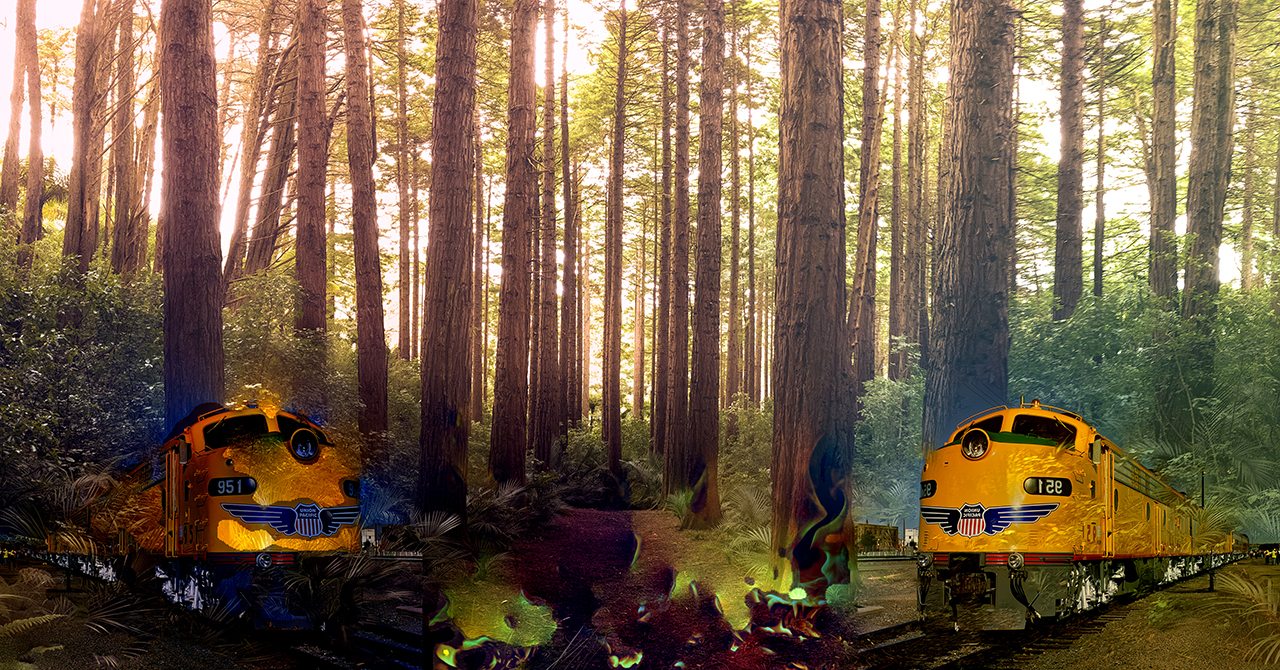 |
| Take a forest | Add a fire | Add a train, twice, with the second image rotated | The result |