Website Layout
The procedure.
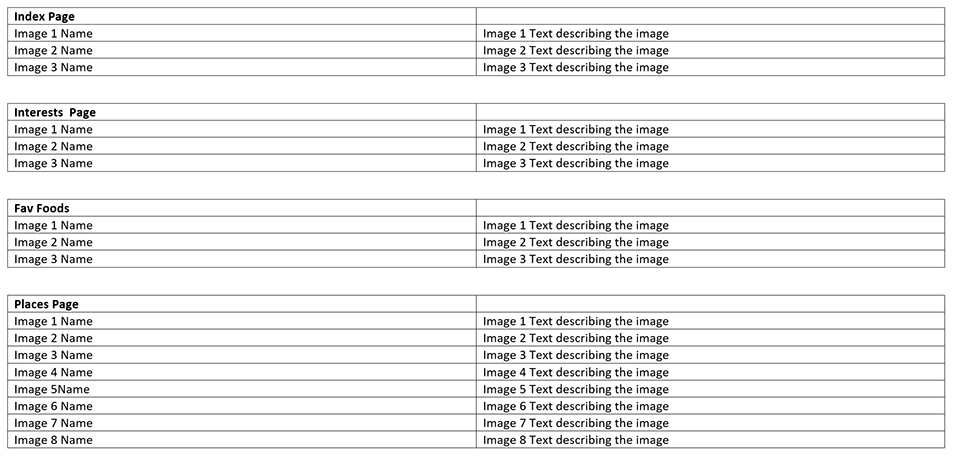
1/. You need to create a table as shown below. When you have done that, you can start your research.
2/. You need to research suitable images to use. You need to research and save to your website folder the images you are going to use.
3/. You then need to type the image name against the image number on the page you are placing it into. DO NOT insert the image into the Word document.
4/. You need to add two-three sentences of text abut the image - (it could be a what, when, where, why summary).
5/. When your design layout is complete and checked by your teacher, you can commence the build.
6/. You will create four webpages within your website. The first (and main page of coding) is the Index Page (Home Page).
The Index Page should have three images that you have researched of something you find worth displaying on the Home Page, as an attraction. In the text section of the table you need to in two – three sentences describe the image. (in a what, when, where, why summary).
The Interests Page should have three images that you have researched of a sport or interest that you have. In the text section of the table you need to in two – three sentences describe the image. (in a what, when, where, why summary).
The Fav Foods Page should have three images of foods you have researched that are really yummy for you. In the text section of the table you need to in two – three sentences describe the image. (in a what, when, where, why summary).
The Places Page should have eight images of places you have researched that you have either been to or want to go to. In the text section of the table you need to in two – three sentences describe the image. (in a what, when, where, why summary).
The Image Name is the full image name (or as you have renamed it).
For example: Hoi An Thubon River Bridge.jpg and the Text describing the image should be 2 – 3 sentences
Link to the build page.