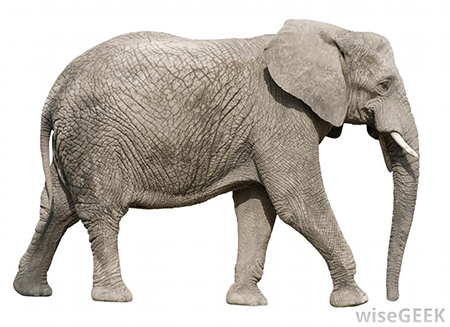
How to remove the background from the image.
In Photoshop there are several ways to do this. The easiest option is shown here.
If you have a single colour background, as in the elephant used in the example:
It's so easy!
1/. Check the original Image Size and create a new file with the same image size.
2/. Then, File/New/Transparent Background.
3/. Copy/Paste the original image to the new image.
4/. Using the Magic Wand Tool select part of the background. All the background should be highlighted. Erase anything else not needed, such as any text. Check that nothing else has been erased. Sometimes the Magic Wand will pick up part of the main object, if that is the situation you need to use the steps in option 2 below.

5/. The background will disappear and leave the original image on a clear background. Save the new image as a CompuServe GIF and not the usual .JPG.
6/. Save your image first as a .PSD (in case there is more to erase, which you may have missed. Then save as a .JPG, as your final image.
Option 2:
If you have a busy background, this requires more steps.
1/. Do the same with creating a new file with a clear background.
2/. Use the eraser tool to remove the background in sections. You can also use the Rectangular Marquee Tool to select sections to delete. You can change the Brush Size when you get closer to the main image. You can also zoom in on the image CTRL+, to zoom out CTRL-.
3/. When your image is complete and this will take some time, save your image first as a .PSD (in case there is more to erase, which you may have missed. Then save as a .JPG, as your final image.
Important: Keep on saving your work in progress as a .PSD file.
Image Mode Layers Add Text Creating Montages Removing Backgrounds Crop Images Image Adjustments Using Filters Home
